
- STATUS: ACTIVE
- COMPATIBLE VERSION: VERSION 2.13
1. WHAT IS MONEI
2. CONFIGURATION IN REVO SOLO
3. HOW TO MAKE A PAYMENT
4. HOW TO MAKE A REFUND
5. REVO SOLO XPRESS SETUP
1. WHAT IS MONEI
Monei is an omnichannel payment platform for managing and processing payments.
More information here.
2. CONFIGURATION IN REVO SOLO
CREATE THE PAYMENT GATEWAY IN REVO SOLO
1. Log in to the back-office of Revo SOLO.
2. Go to Configuration / PAYMENT GATEWAYS.
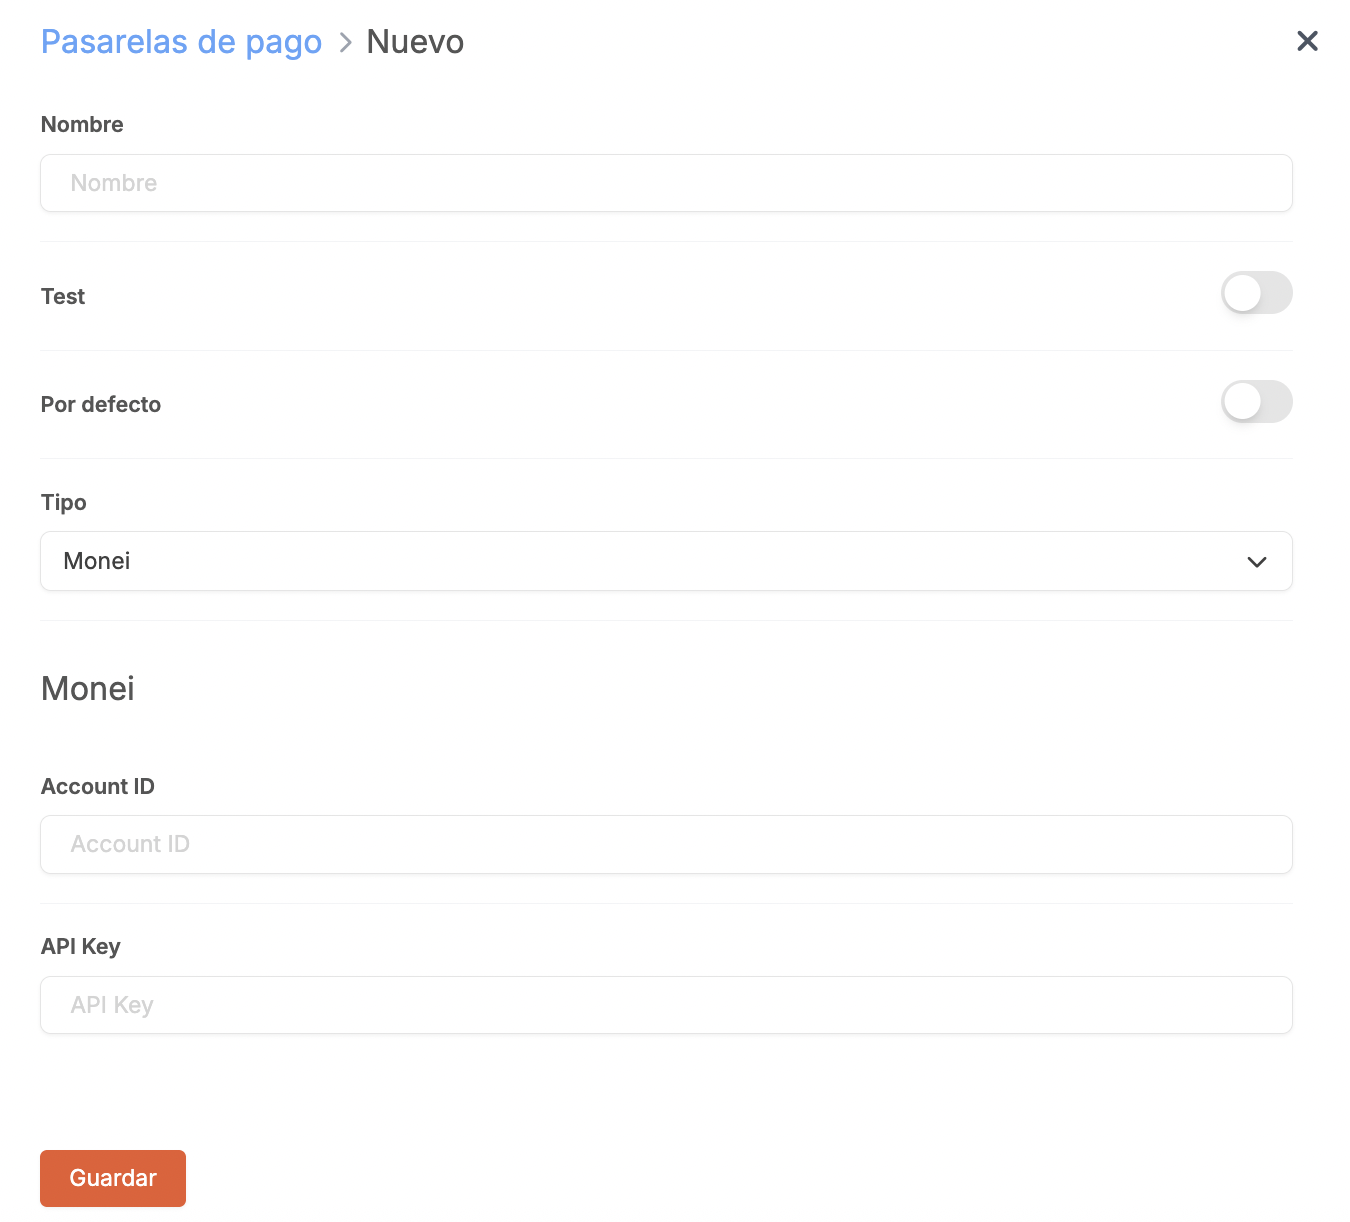
3. Click on + New and fill in the fields.
-
Name: Enter a name.
-
Test: Disabled.
-
Default: Enable if you want it to be used by default.
-
Type: Monei.
-
Account ID: Provided by Monei.
-
API Key: Provided by Monei.
4. Click on Save.
ASSOCIATE THE PAYMENT GATEWAY
Once the Monei payment gateway is created, it must be added to the store configuration. To do this:
1. Go to STORES.
2. Edit the store.
Here you will find more information if you need to create a new store.
3. Go to the Configuration tab and in Payment Gateway, select Monei.
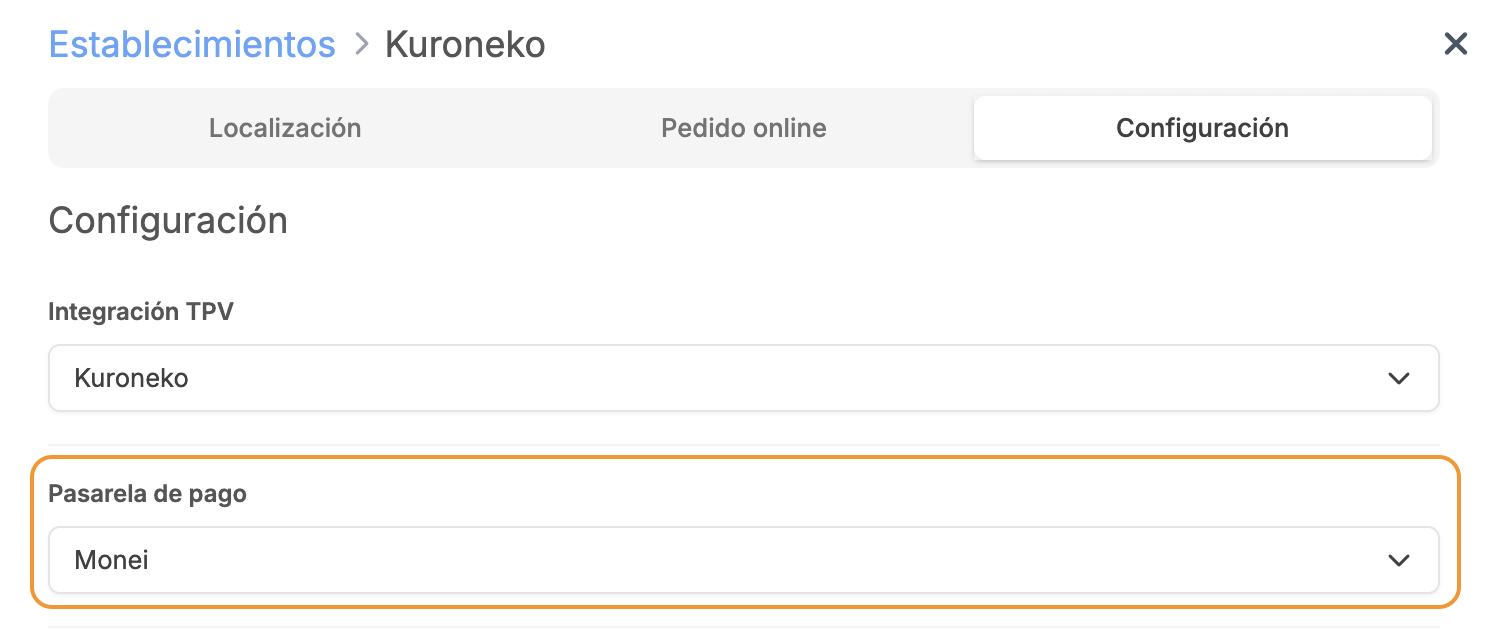
4. Click on Save.
3. HOW TO MAKE A PAYMENT
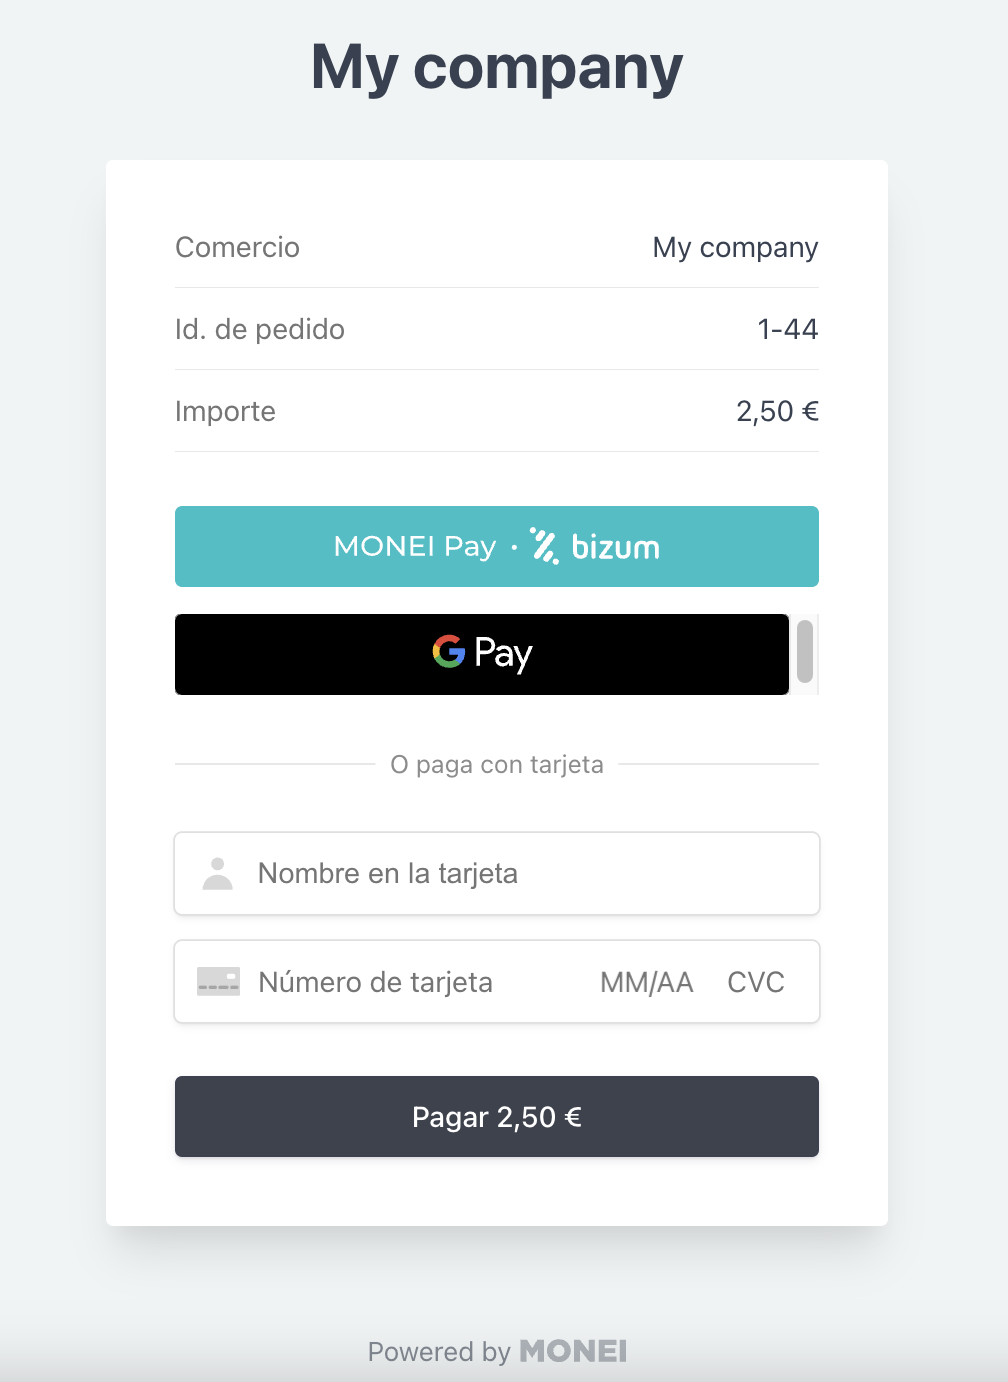
The customer places the order and at the time of payment, they will see the following Monei screen where they can select the payment method or enter card details.
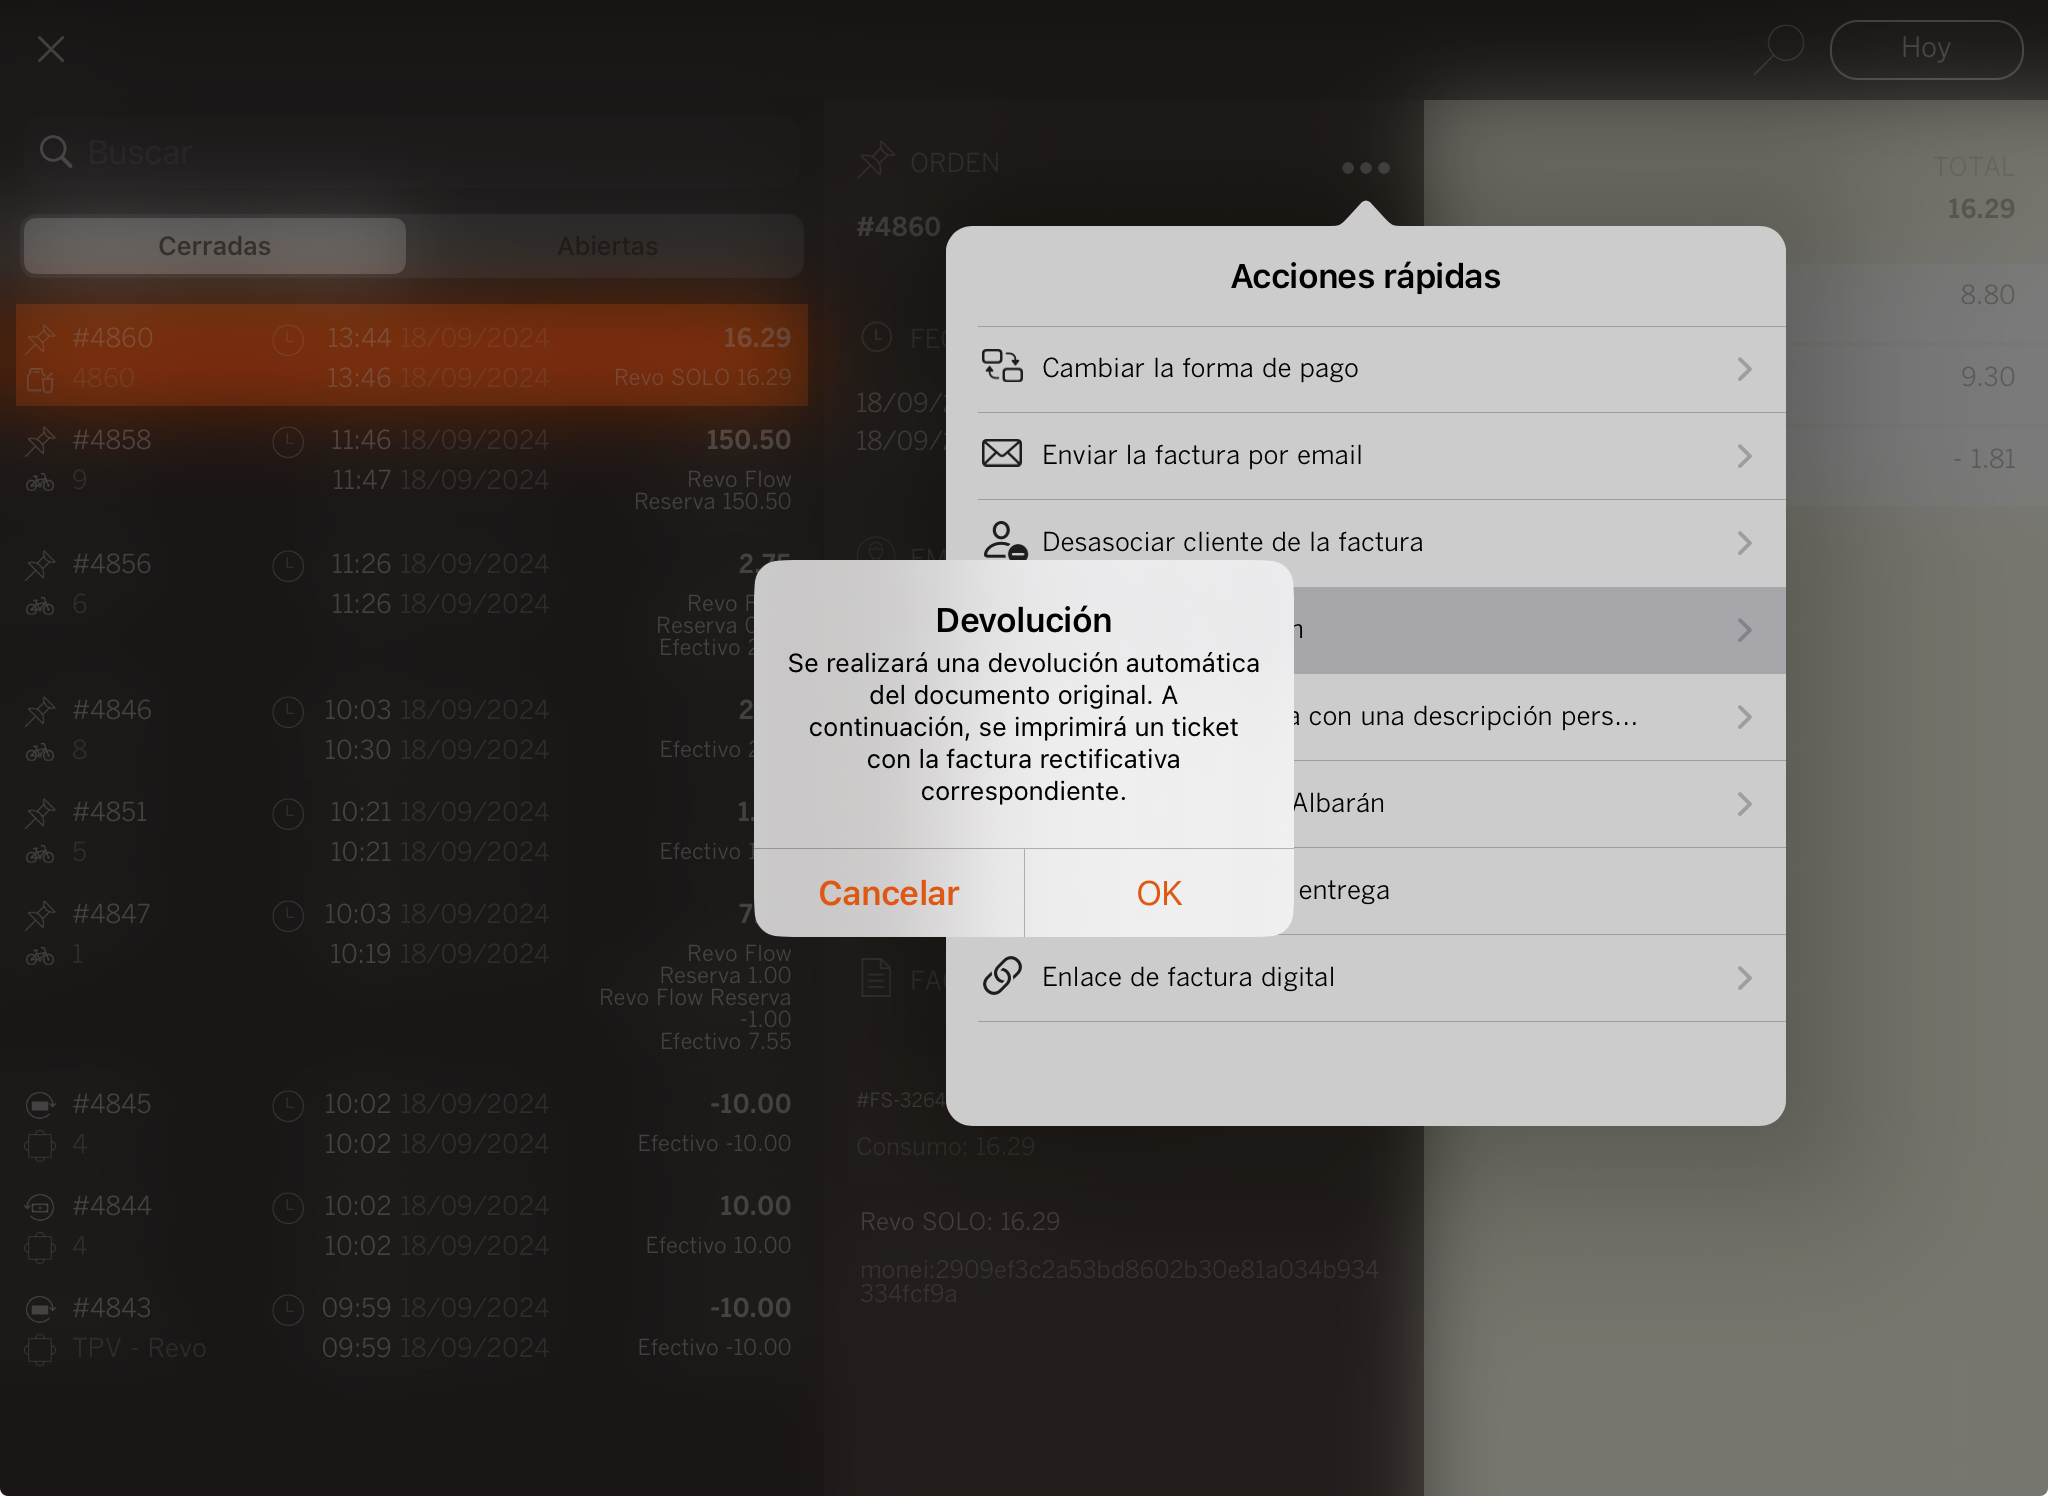
4. HOW TO MAKE A REFUND
FROM VERSION 4.5
1. Go to the menu r.
2. Tap on Historic data.
3. Find the order, tap on the and select Make a refund.
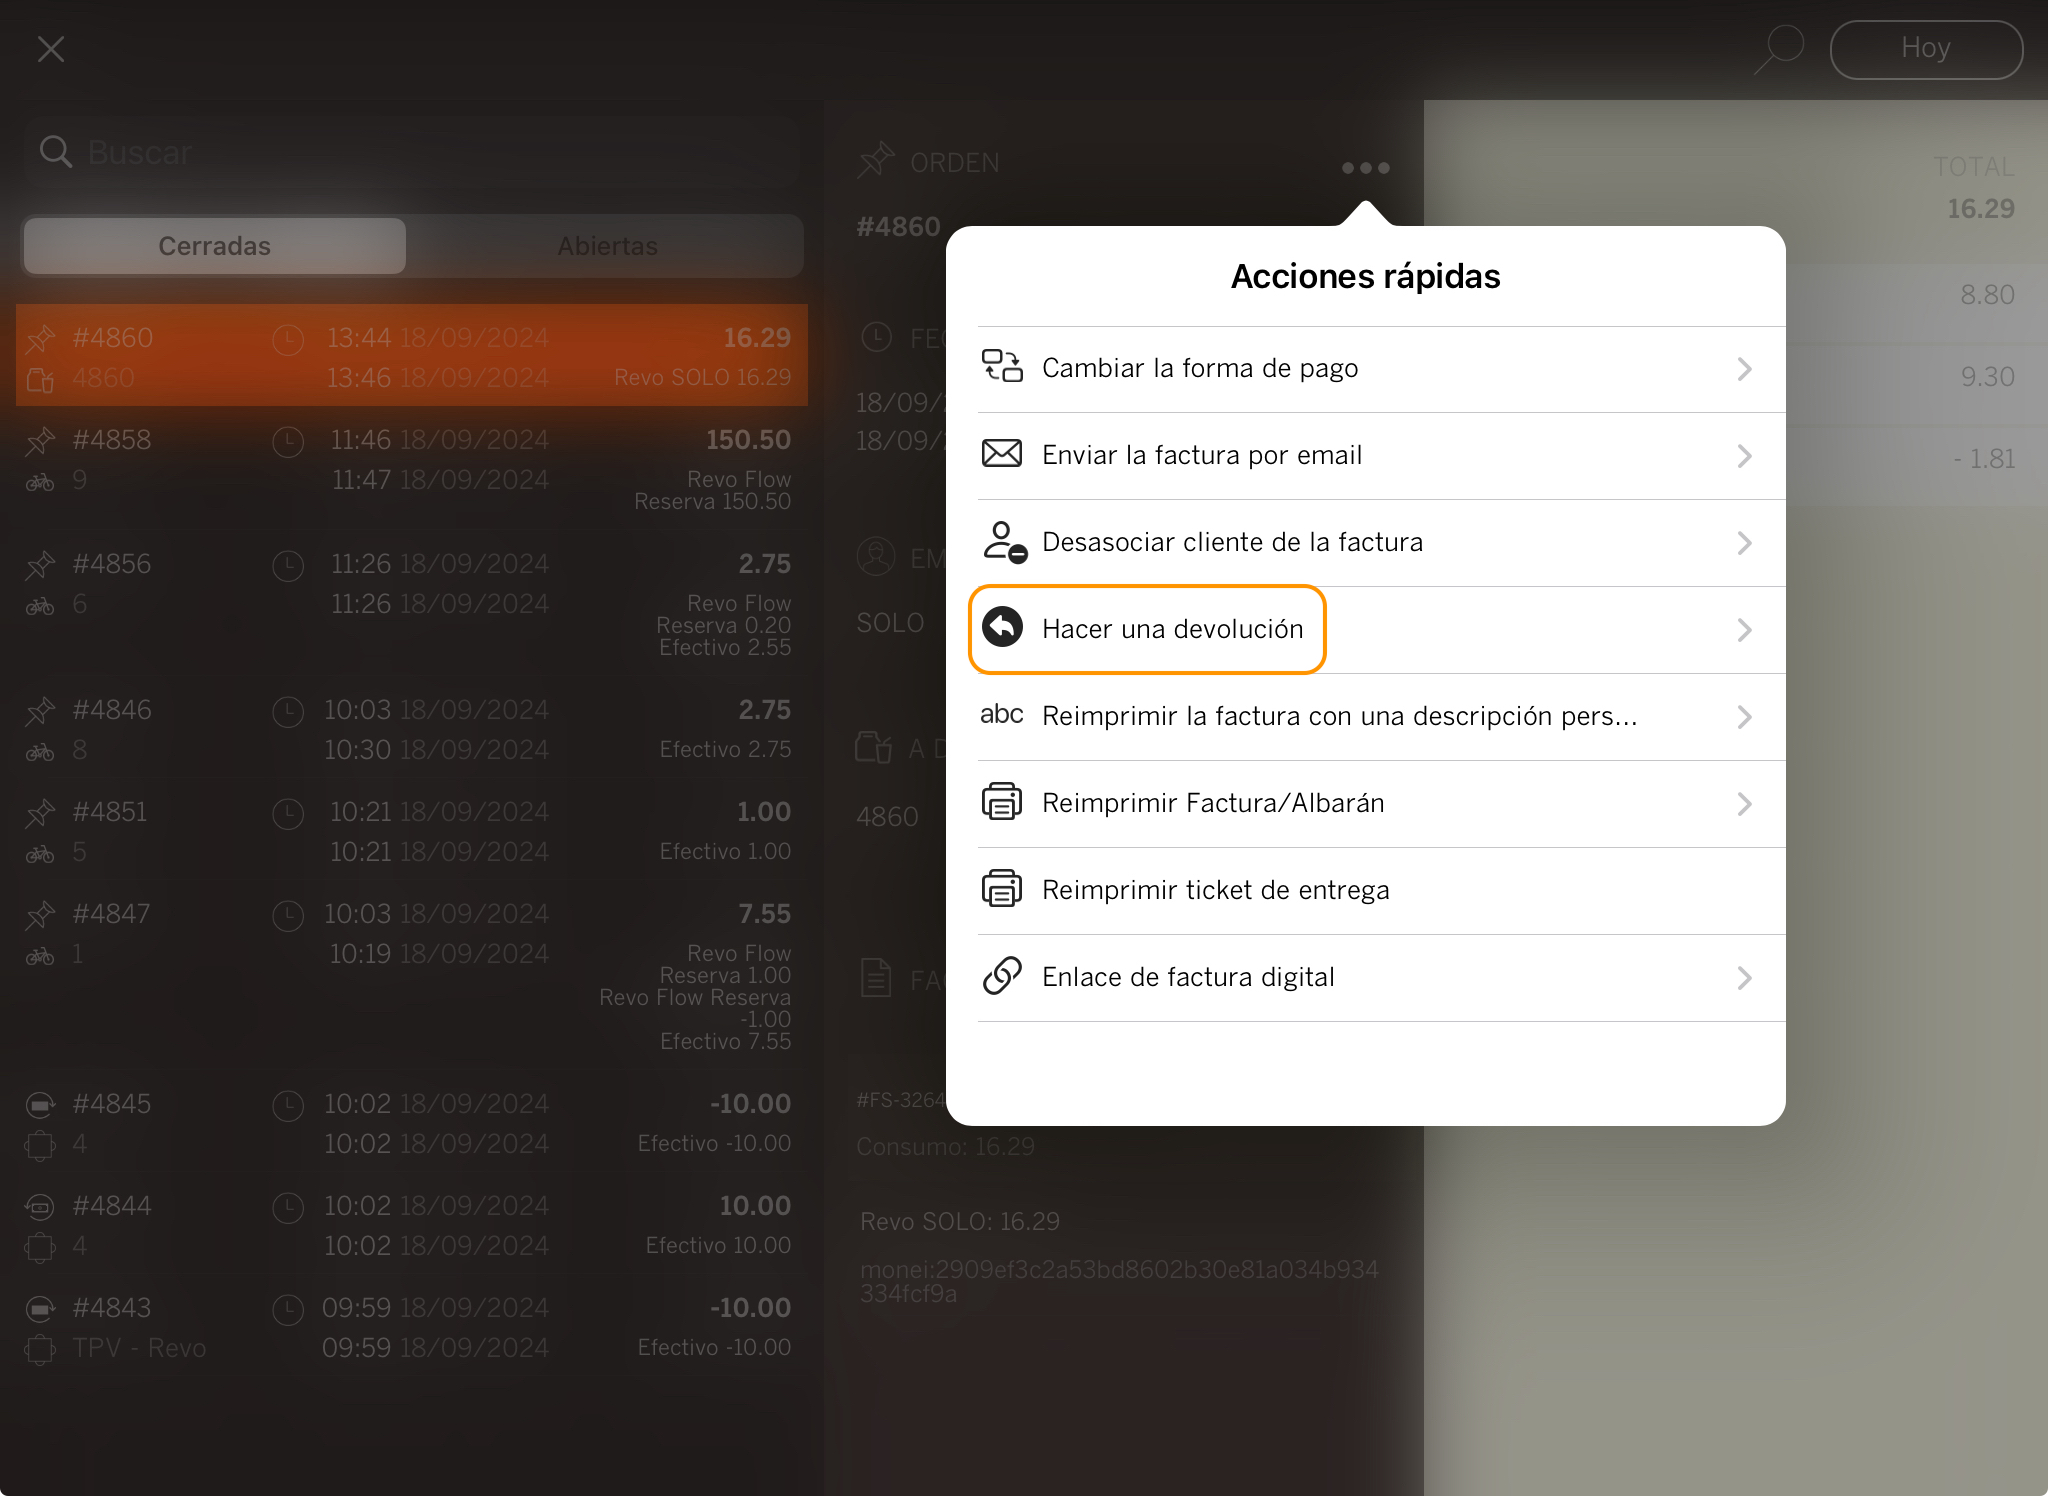
4. Tap OK.
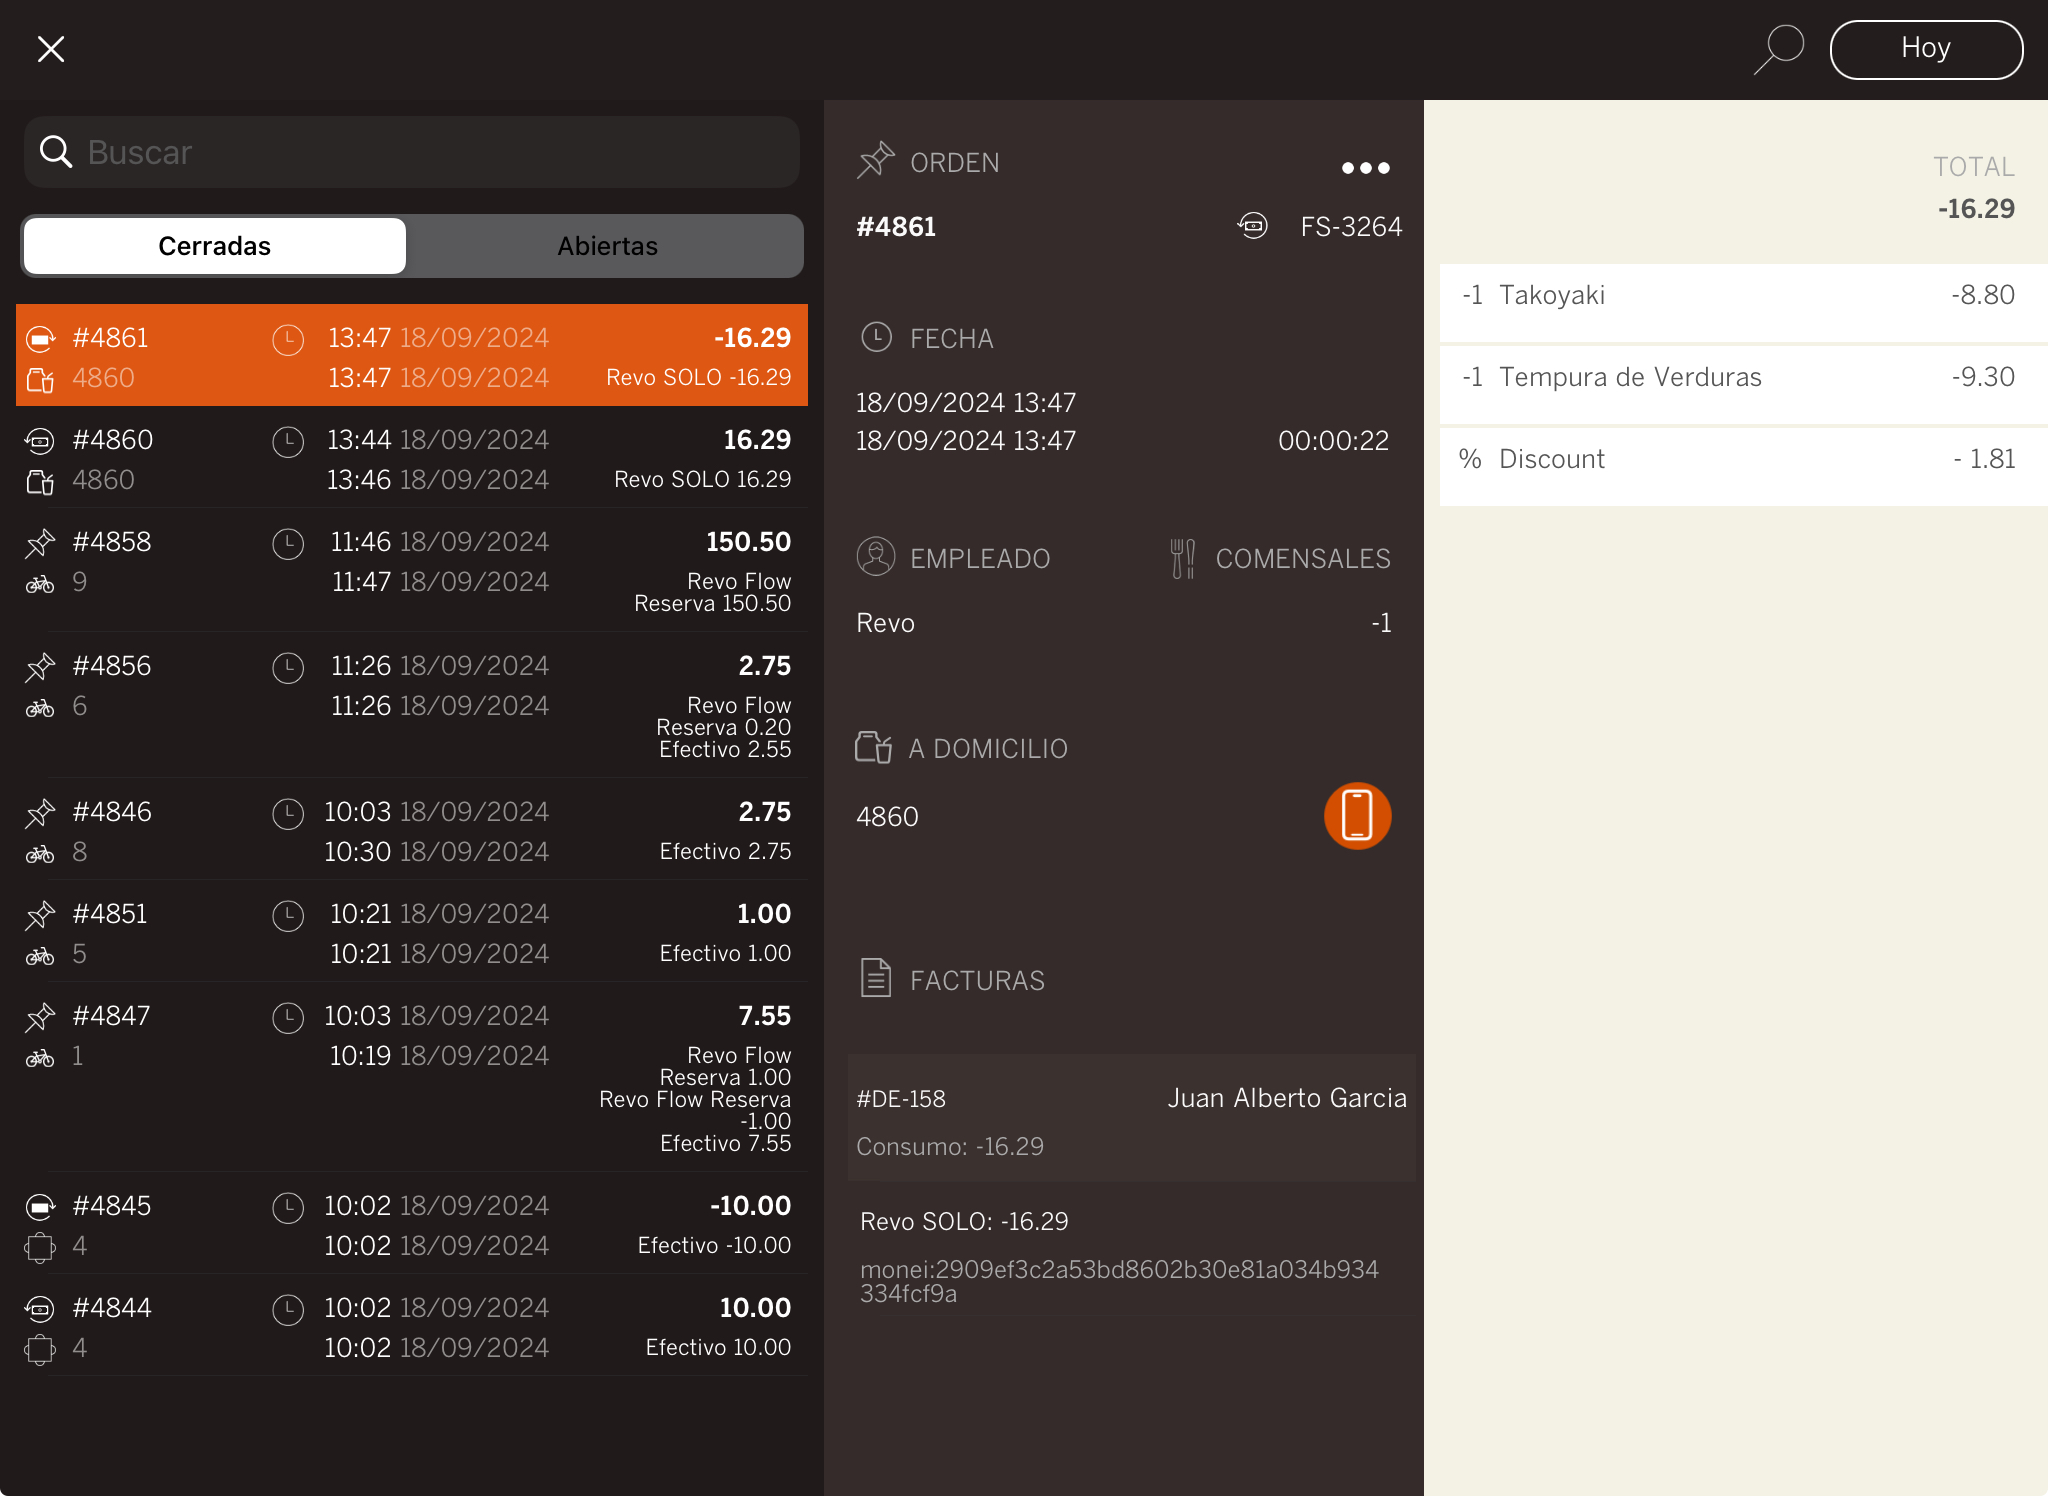
5. You will see the refunded order.
5. REVO SOLO XPRESS SETUP
1. Log in to the back-office of Revo XEF.
2. Go to Integrations / INTEGRATIONS.
3. Click + New, search XPress and select + Add.

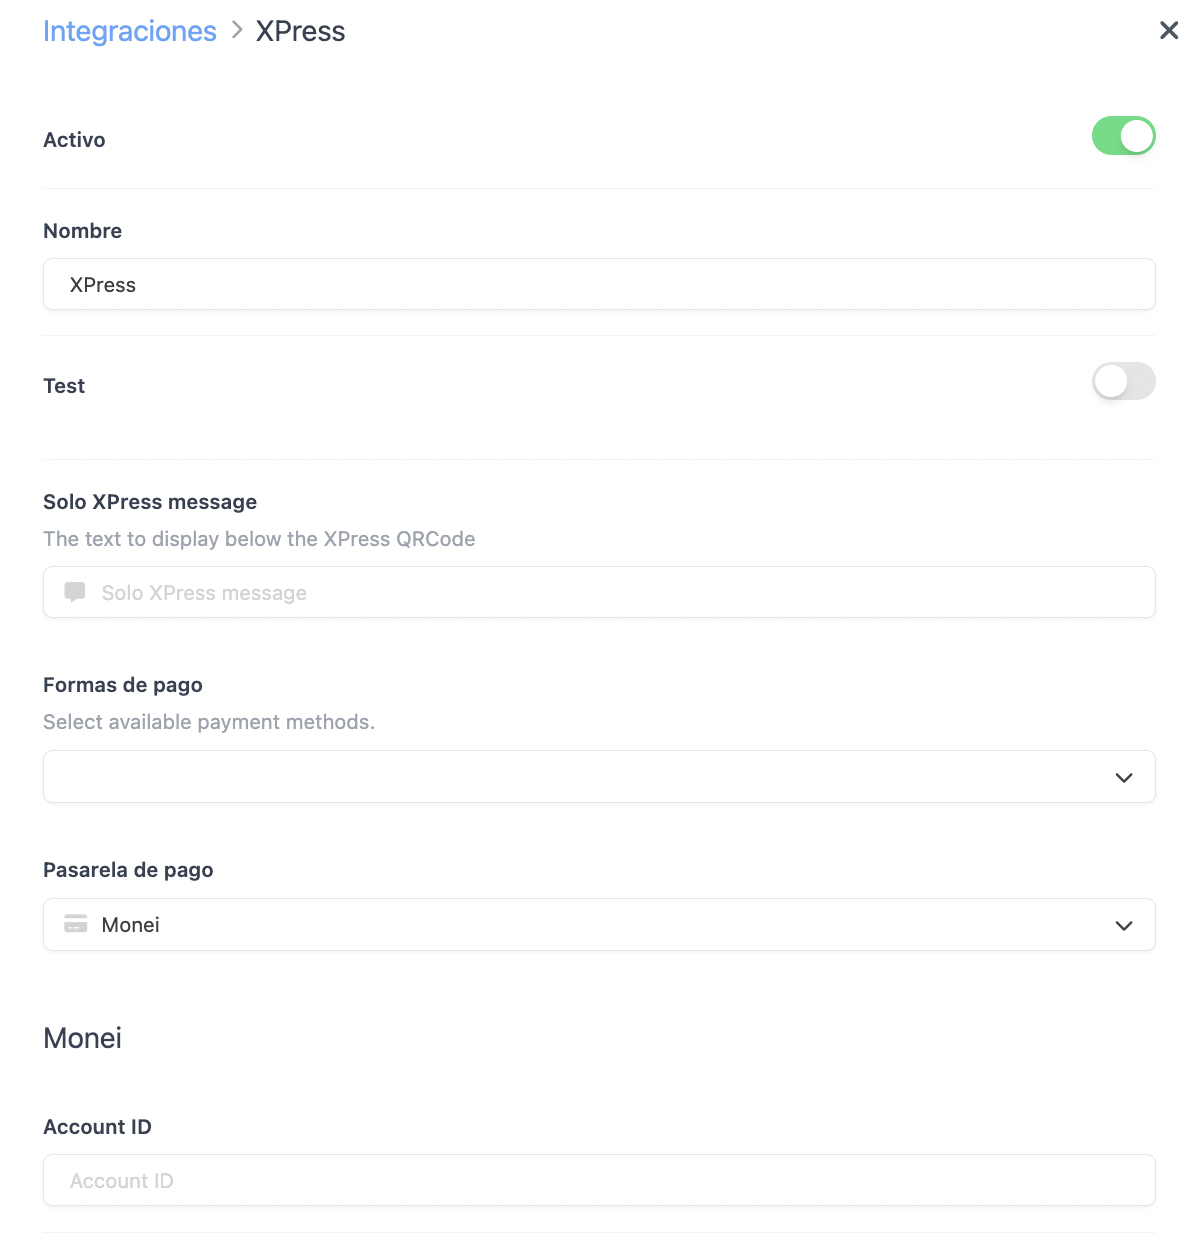
4. Fill in the following fields:
-
Active:
-
Name: Enter a name to identify the integration.
-
Test: Leave it off.
-
XPress message: Message shown to customers under the QR.
-
Payment methods: Select the available ones.
-
Payment gateway: Monei
-
Account ID: Provided by Monei.
-
API Key: Provided by Monei.
-
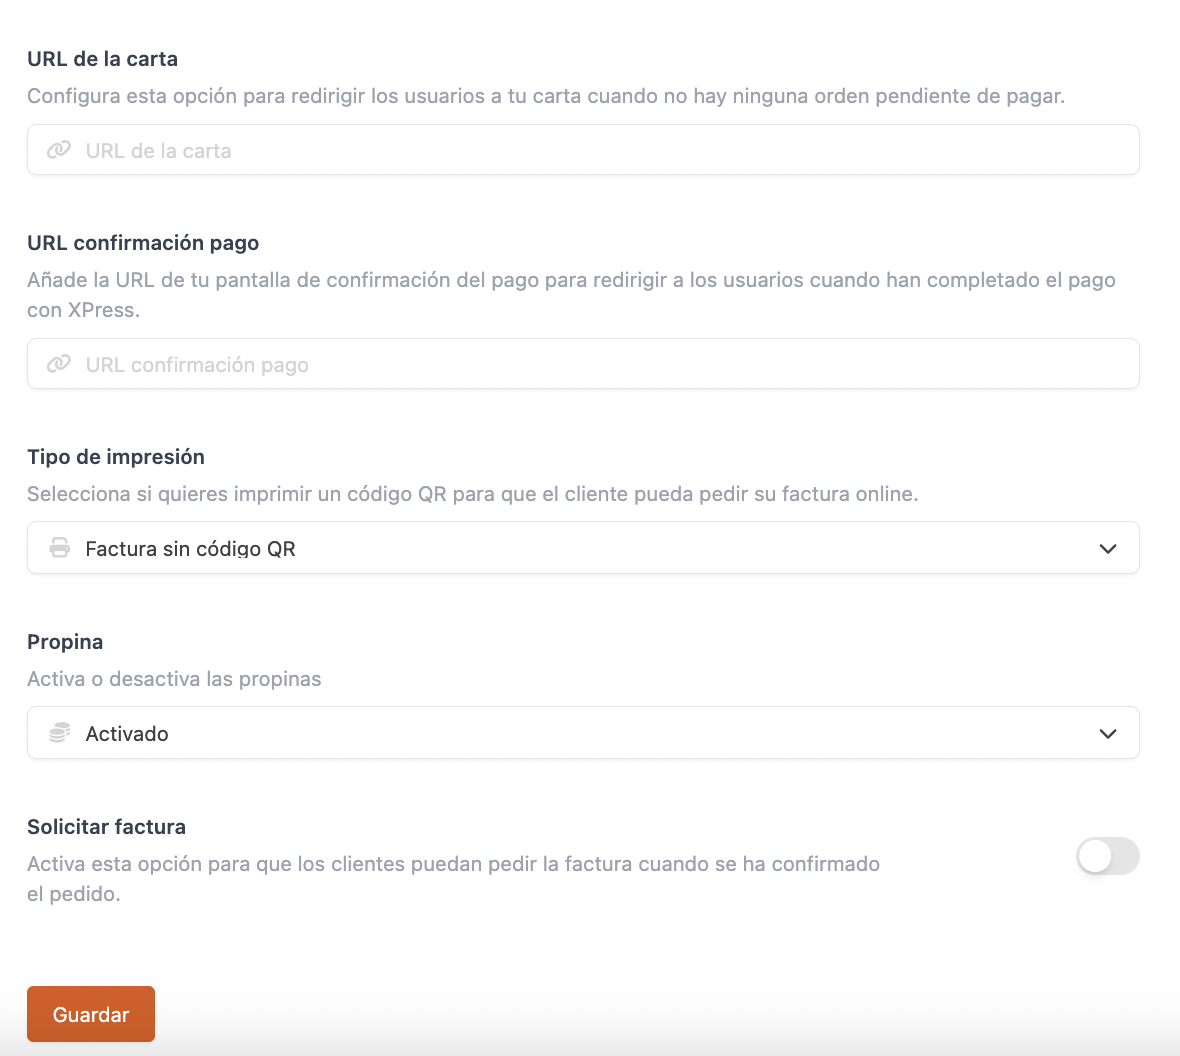
Menu URL: Add a URL to redirect the customer if there are no pending orders.
-
Payment confirmation URL: Add the URL of your confirmation page, e.g., Google.
-
Print type: Choose how the QR will be displayed on the receipt:
- Receipt without QR code: The QR is not printed.
- Receipt with QR code: The QR is printed and allows the customer to enter their email to receive the receipt.
-
QR code only: Only the QR is printed, with the option to enter an email for the receipt.
-
Tip: Decide whether to display tipping on the payment screen.
-
Request invoice: Enable this if you want customers to request an invoice when paying.
5. Click Save.
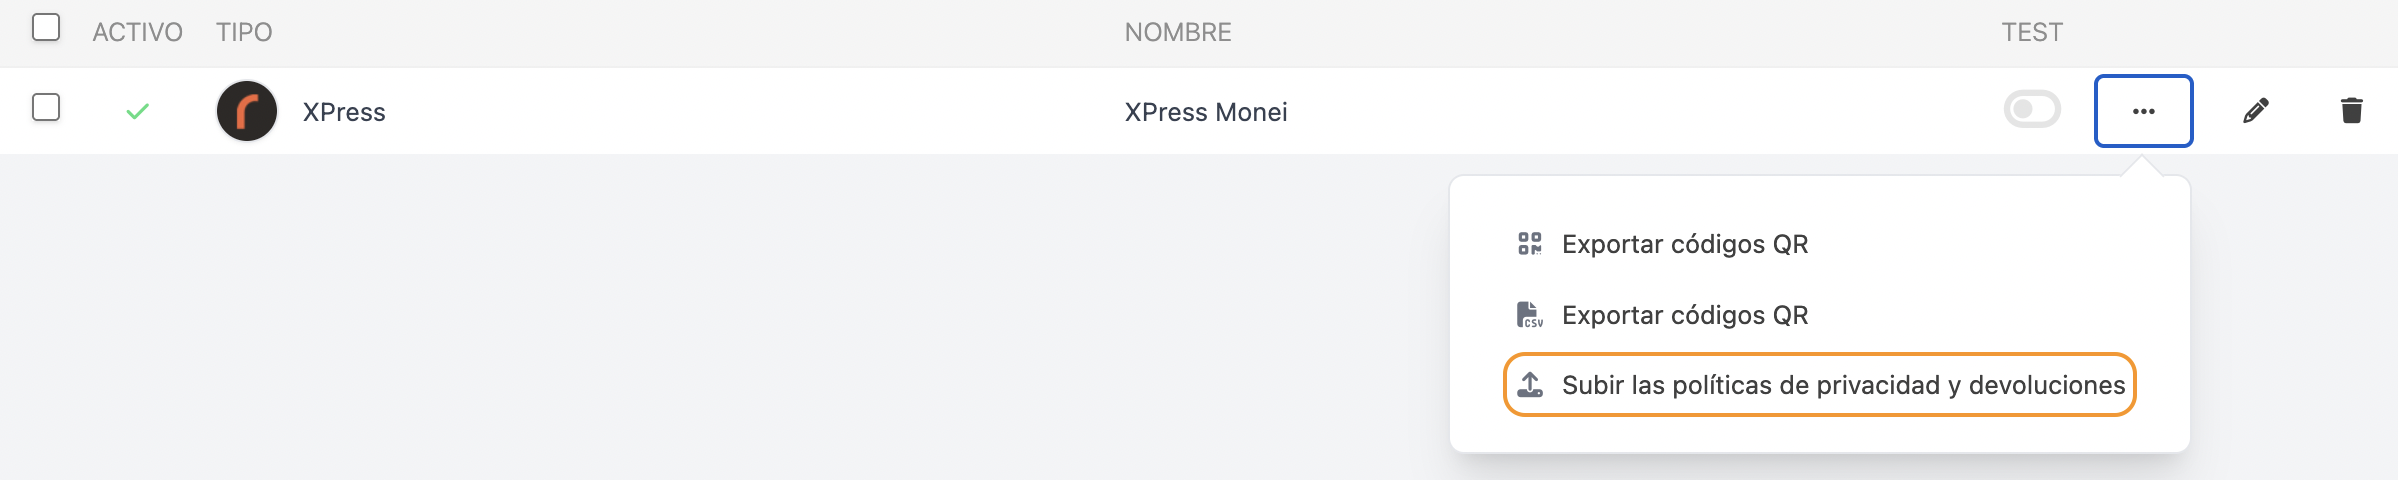
6. Click on the and select Upload privacy and return policies.
7. Upload the PDF files.
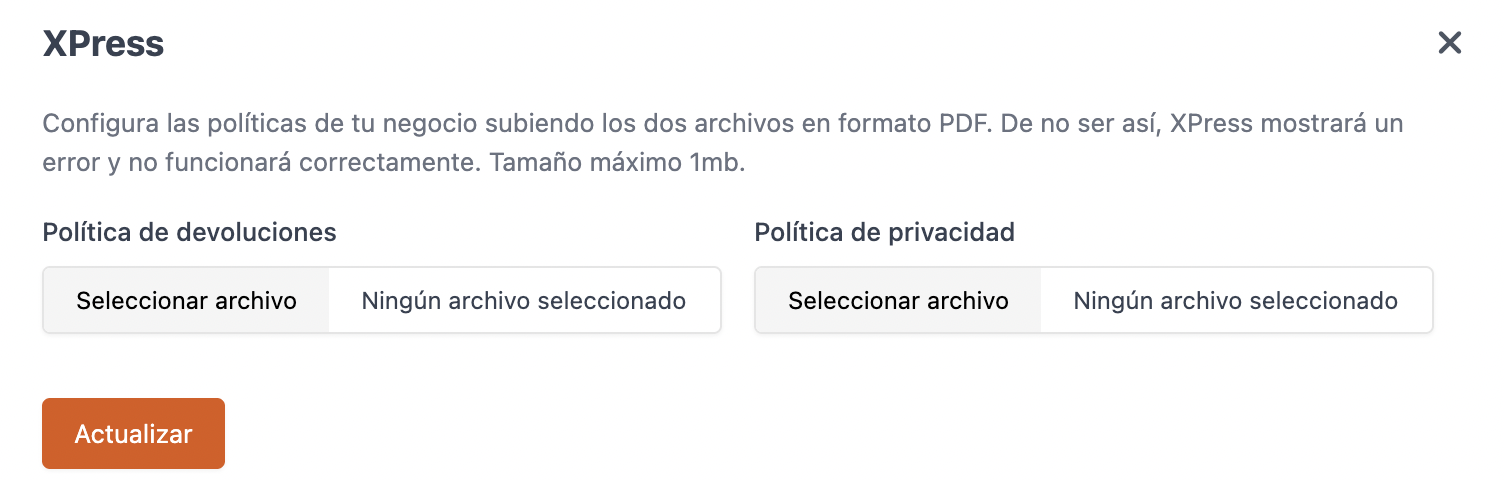
8. Click Update to save the changes.