STATUS: ACTIVE
VERSION: 3.3
1. WHAT IS REVO SOLO XPRESS?
2. HOW DOES IT WORK?
3. INTEGRATION SETUP
4. HOW TO USE REVO XPRESS IN REVO XEF
5. HOW TO USE REVO XPRESS WITH REVO INTOUCH
6. HOW TO REQUEST THE INVOICE WITH REVO XPRESS
1. WHAT IS REVO SOLO XPRESS?
Revo SOLO XPress is an integration that allows your customers to pay directly from their mobile phone.
To use it, you need to have the Revo SOLO XPress licence activated.
2. HOW DOES IT WORK?
Your customers place their order as usual and then pay by scanning the QR code on the ticket with their mobile or via a link received by SMS.
3. INTEGRATION SETUP FOR REVO XEF
1. Log in to the Revo XEF back office.
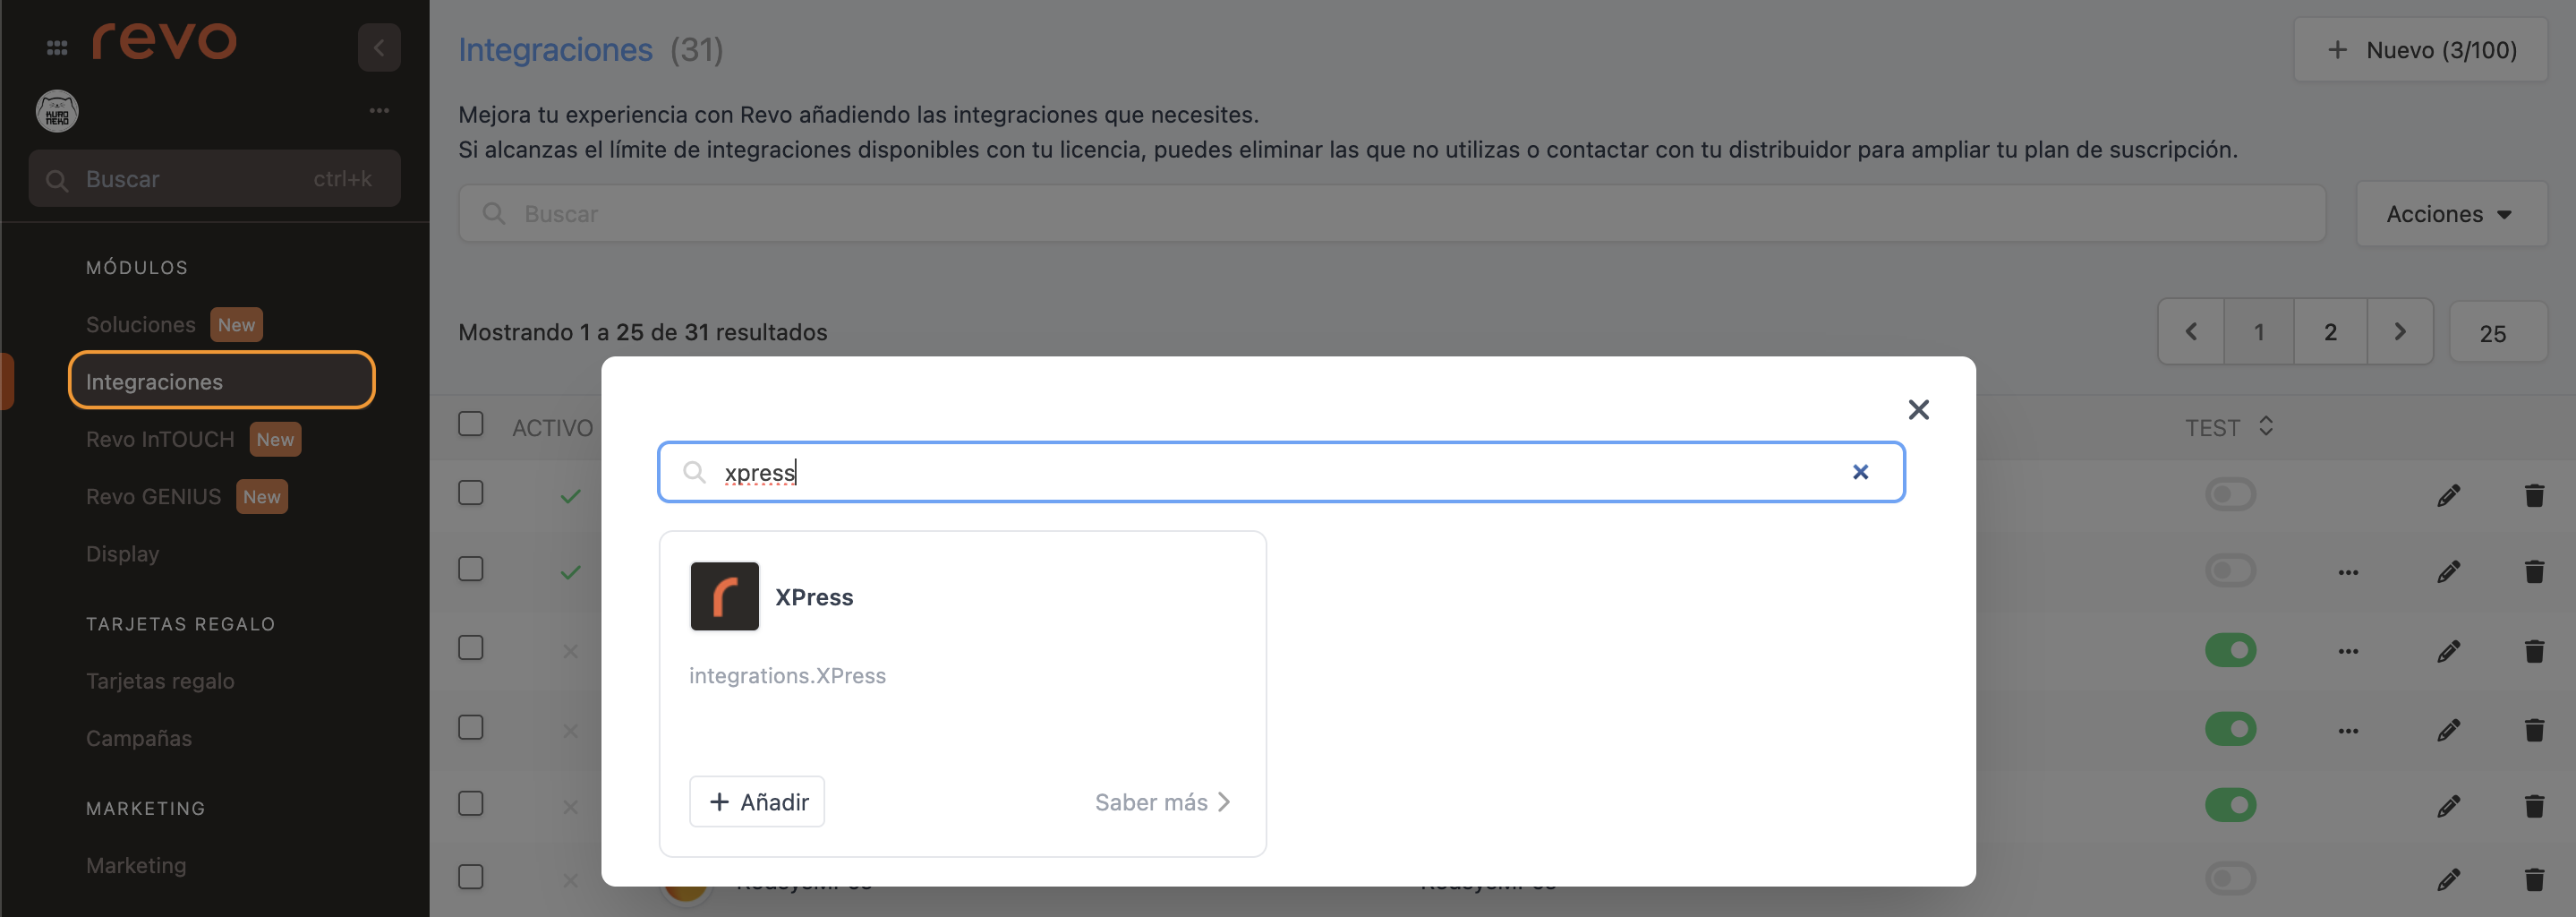
2. Go to Integrations / INTEGRATIONS.
3. Click + New, search for XPress and click + Add.
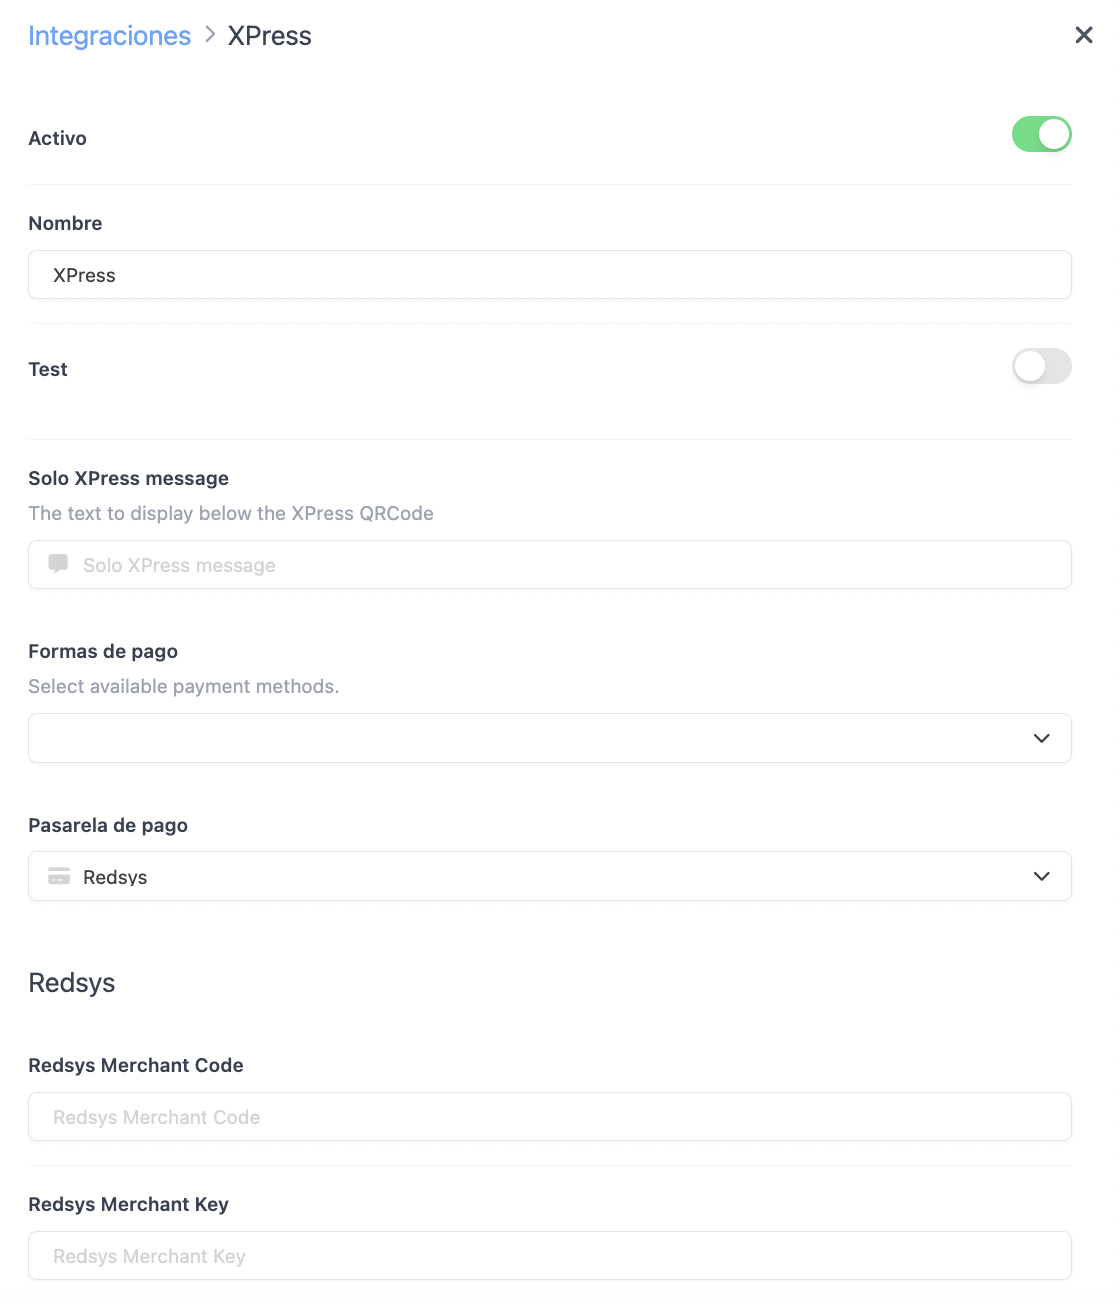
4. Fill in the following fields:
-
Active:
-
Name: A name to identify the integration.
-
Test: Disabled
-
Solo XPress message: Message shown to the customer under the QR code.
-
Payment methods: Choose how customers can pay:
- Total: Full amount
- Custom amount: You set the amount
- Direct payment: Depending on their selection
- By item: Pay per product
-
By percentage: Pay a percentage
-
Payment gateway: Choose between Redsys, Nepting, Adyen, Stripe, or Monei.
The bank must provide the credentials for configuration.
-
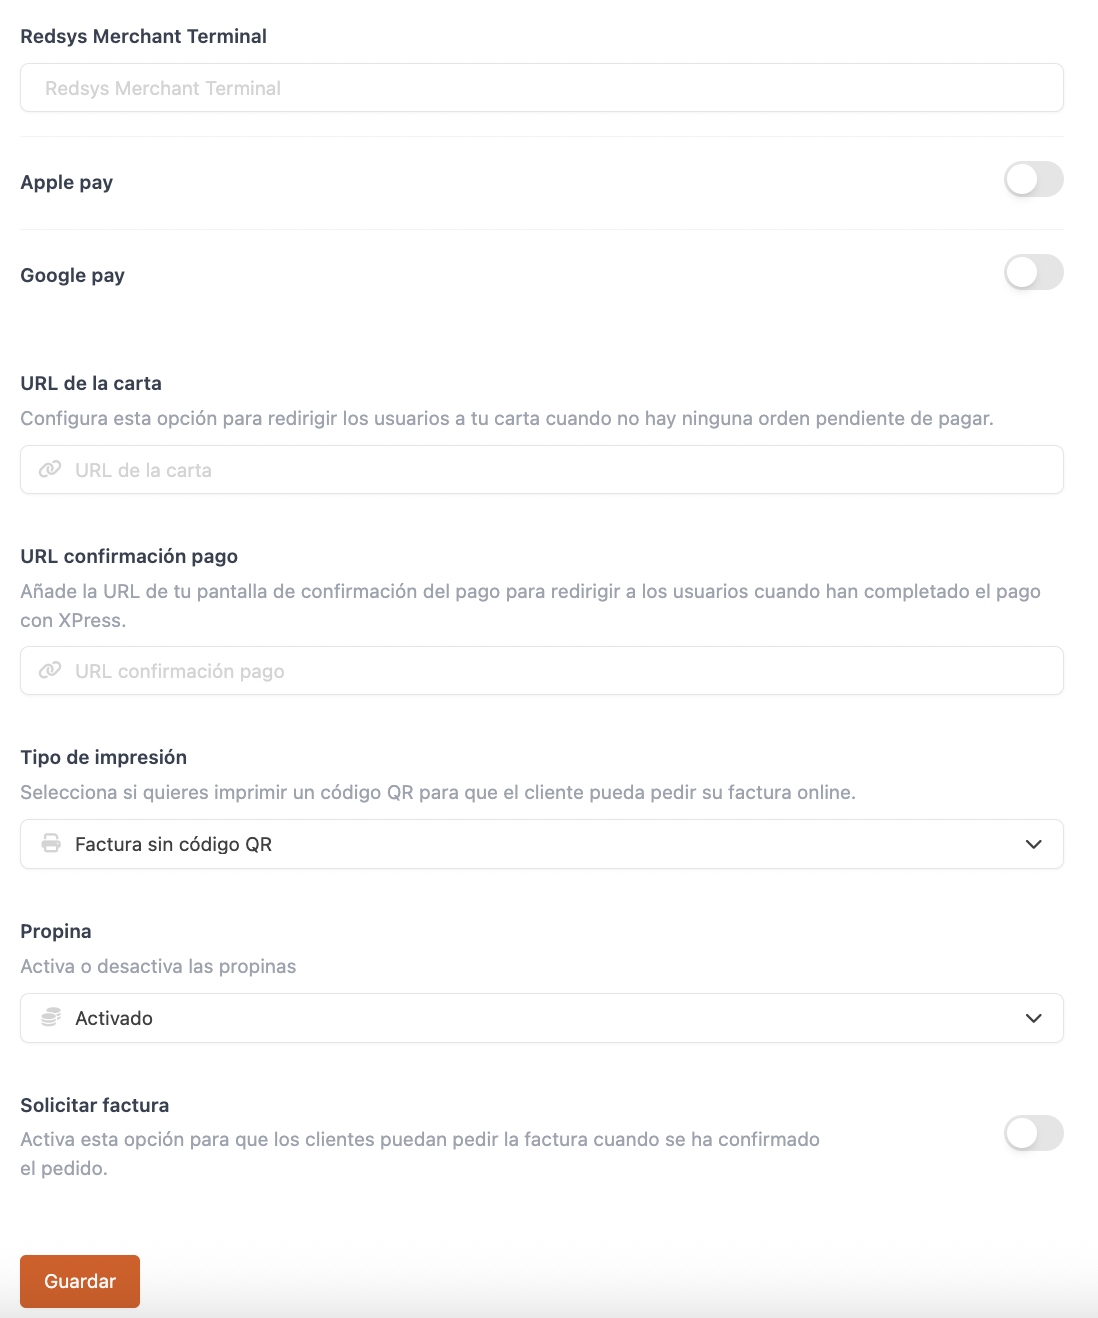
Menu URL: Add a URL to redirect customers to your menu when there are no pending payments.
-
Payment confirmation URL: Add the URL where customers should be redirected after completing the payment (e.g., your website).
-
Print type: Choose how the QR should be printed:
- Invoice without QR code: QR is not printed.
- Invoice with QR code: QR is printed and customers can enter an email to receive the invoice.
-
Only QR code: Only QR is printed, with option to enter an email.
-
Tips: Choose whether to allow tipping when paying.
-
Request invoice: Enable if you want customers to request an invoice.
6. Click Save.
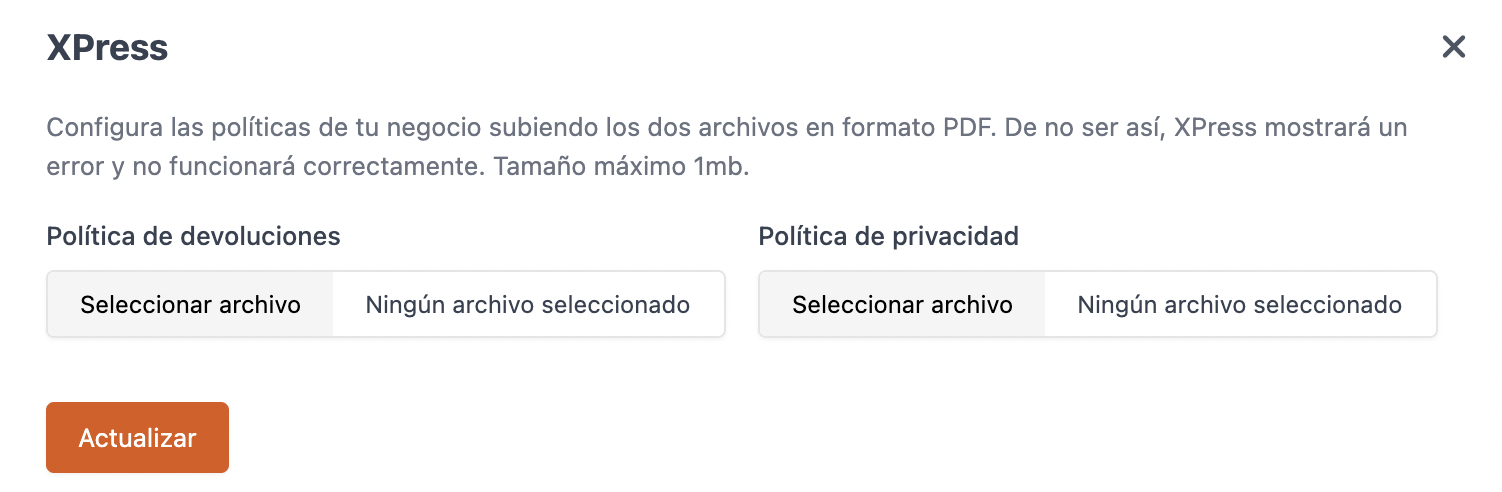
7. Click and select Upload privacy and return policies.

8. Upload the PDF files and click Update.
9. Go to Payment methods and you’ll see the XPRESS payment method has been created.
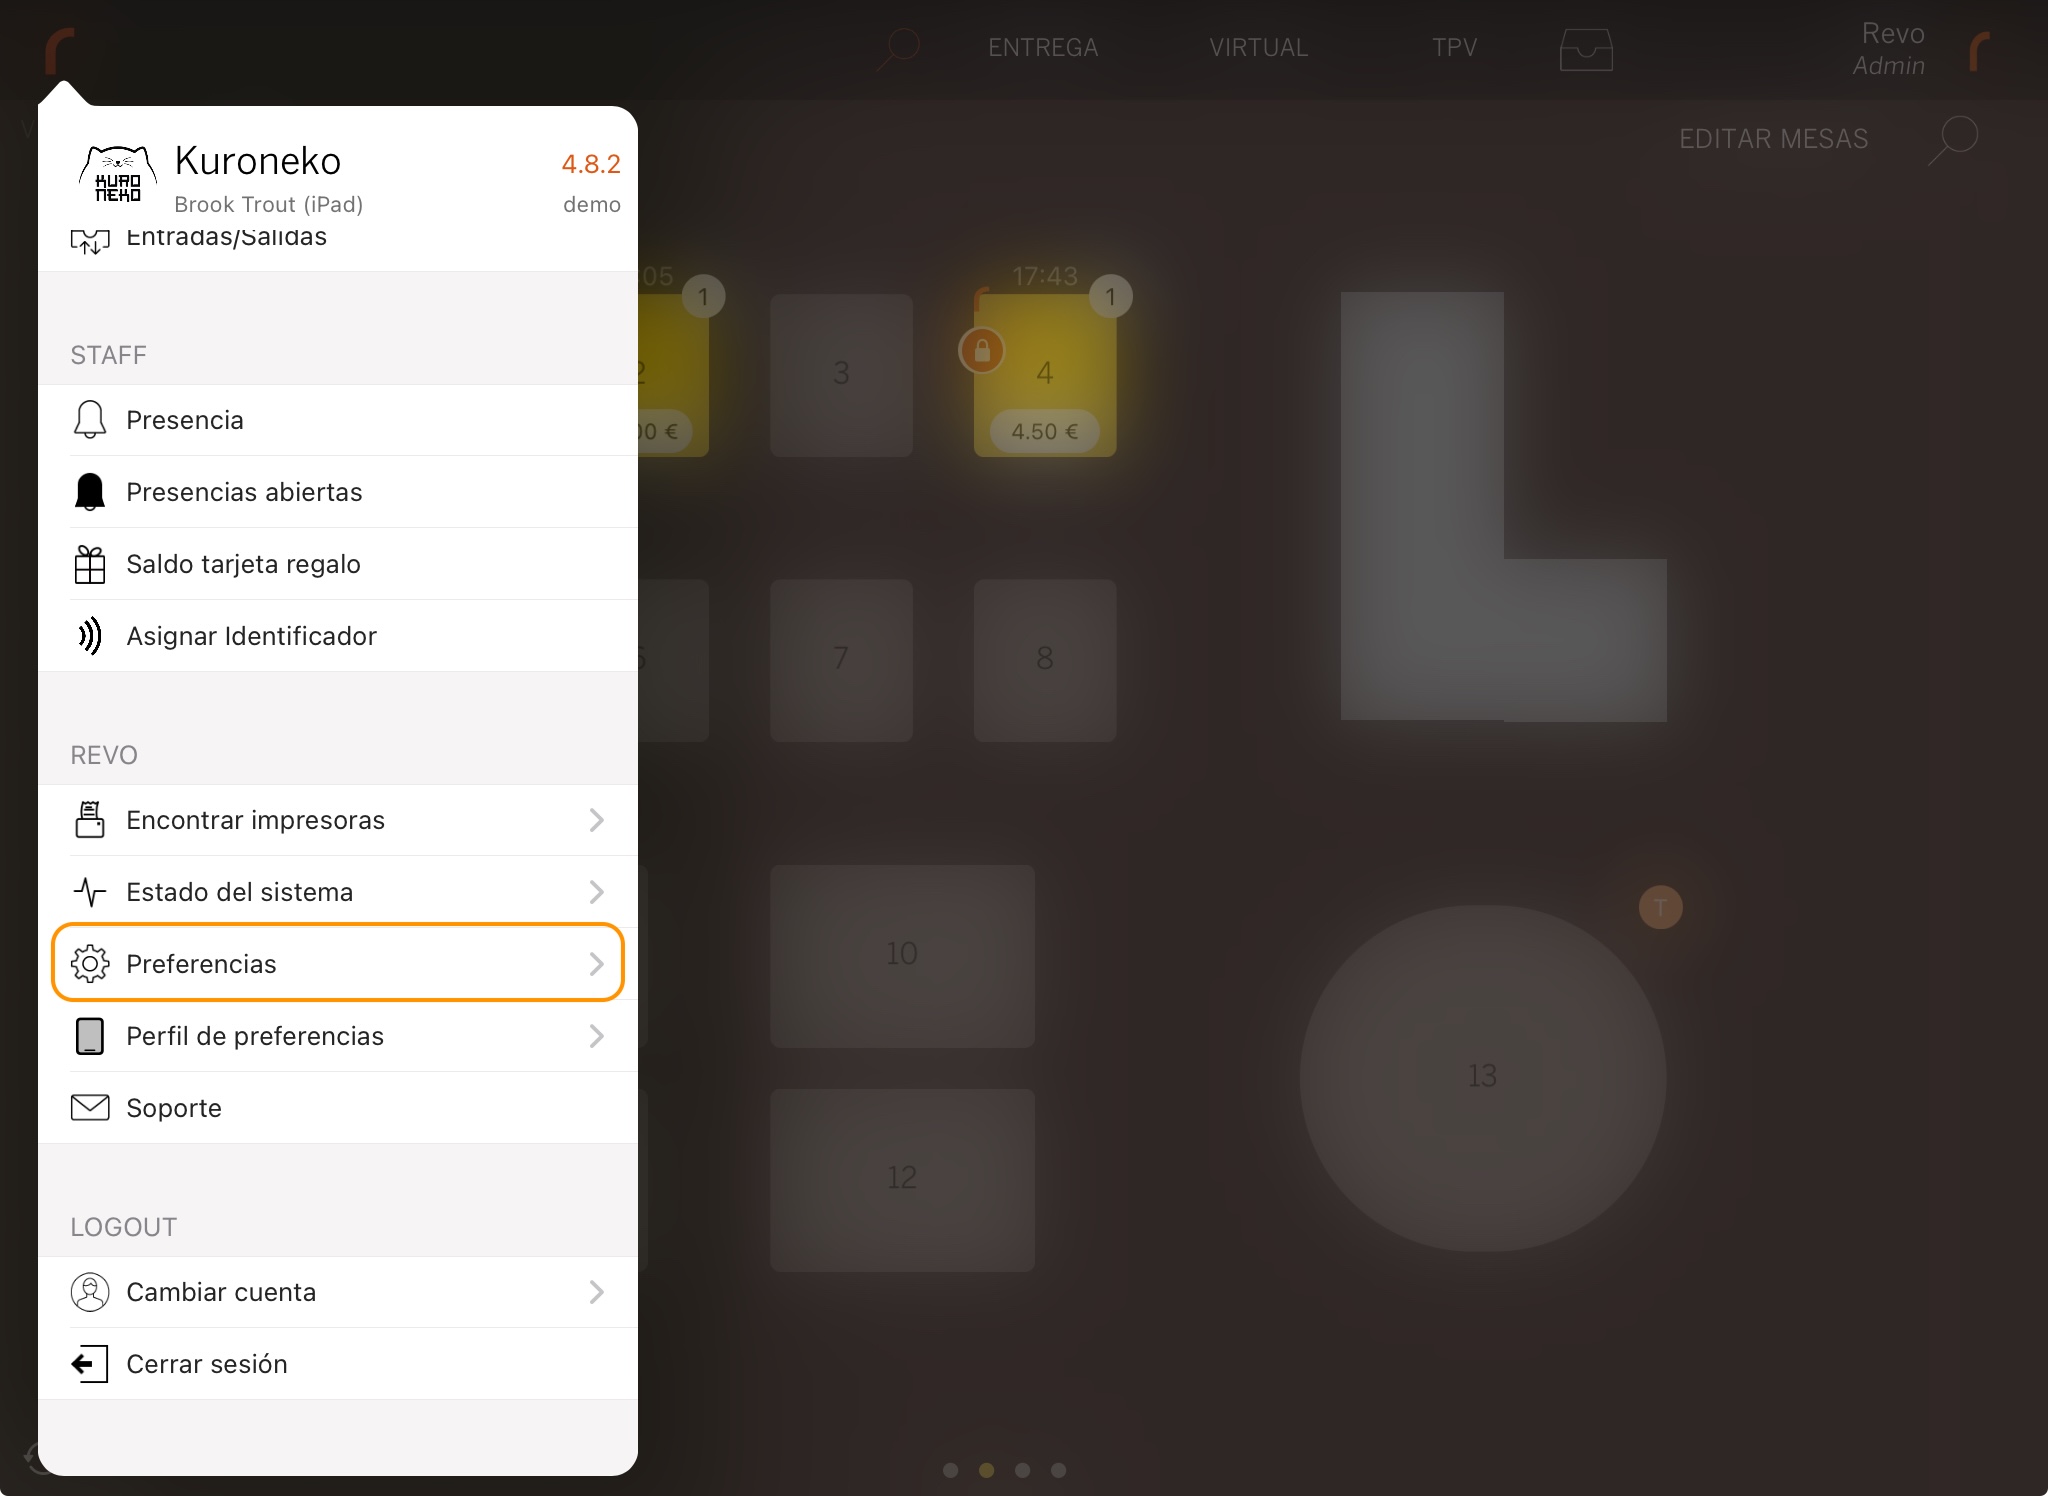
10. If you wish, you can activate notifications when a remote payment is received in Revo XEF:
-
Tap the r menu and go to Preferences.
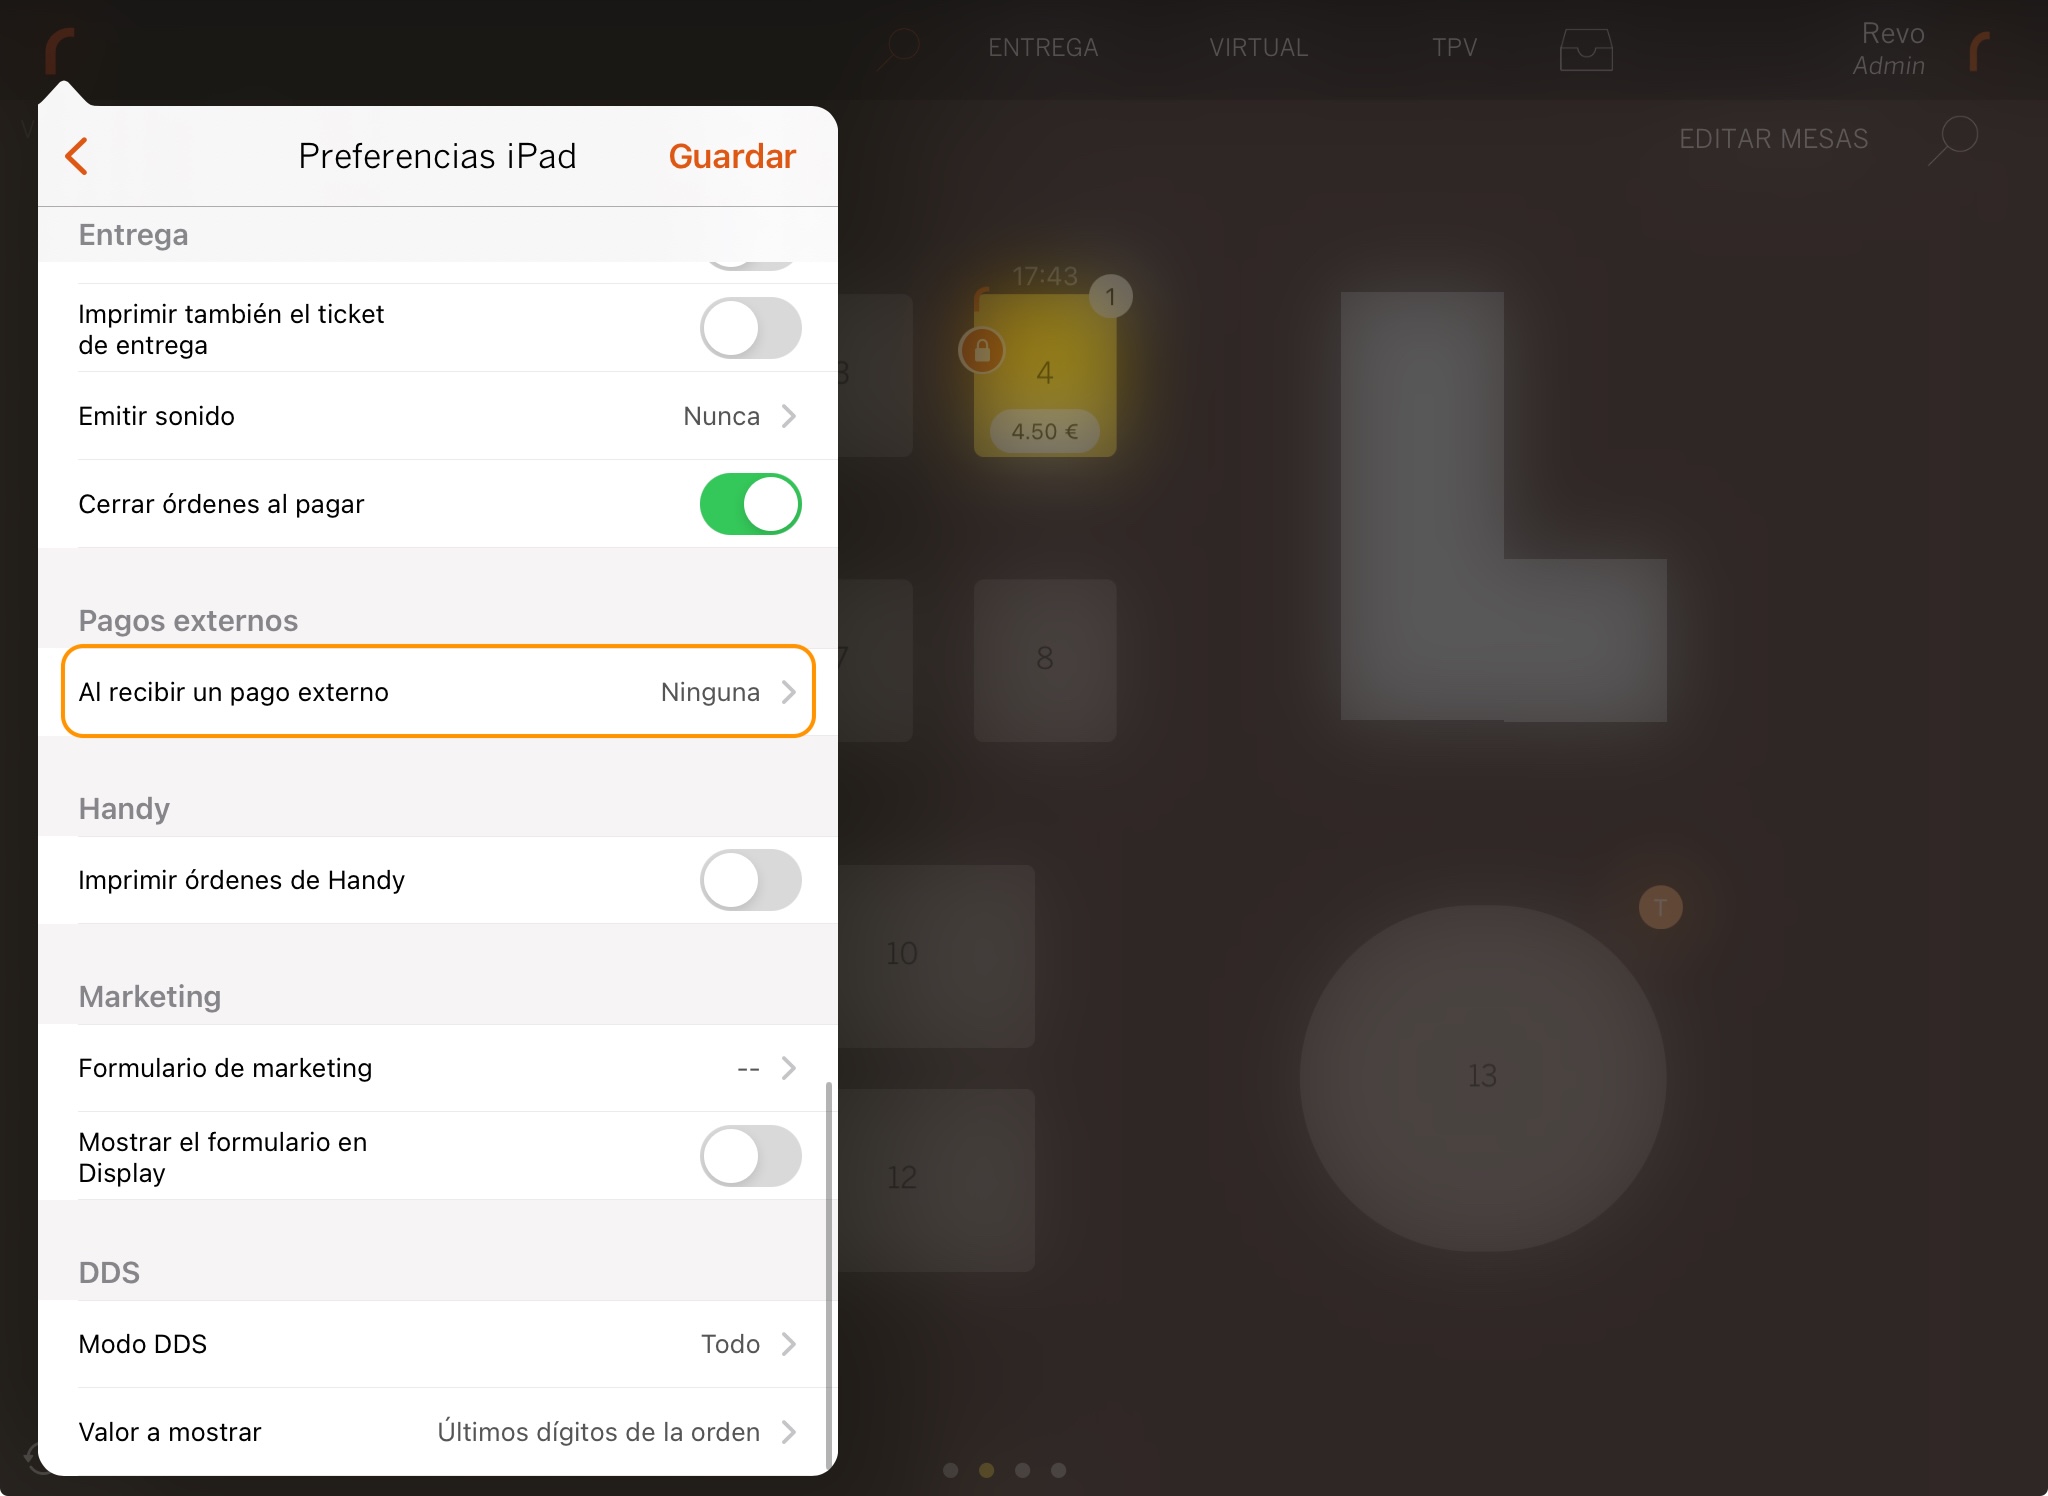
-
Look for External payments.
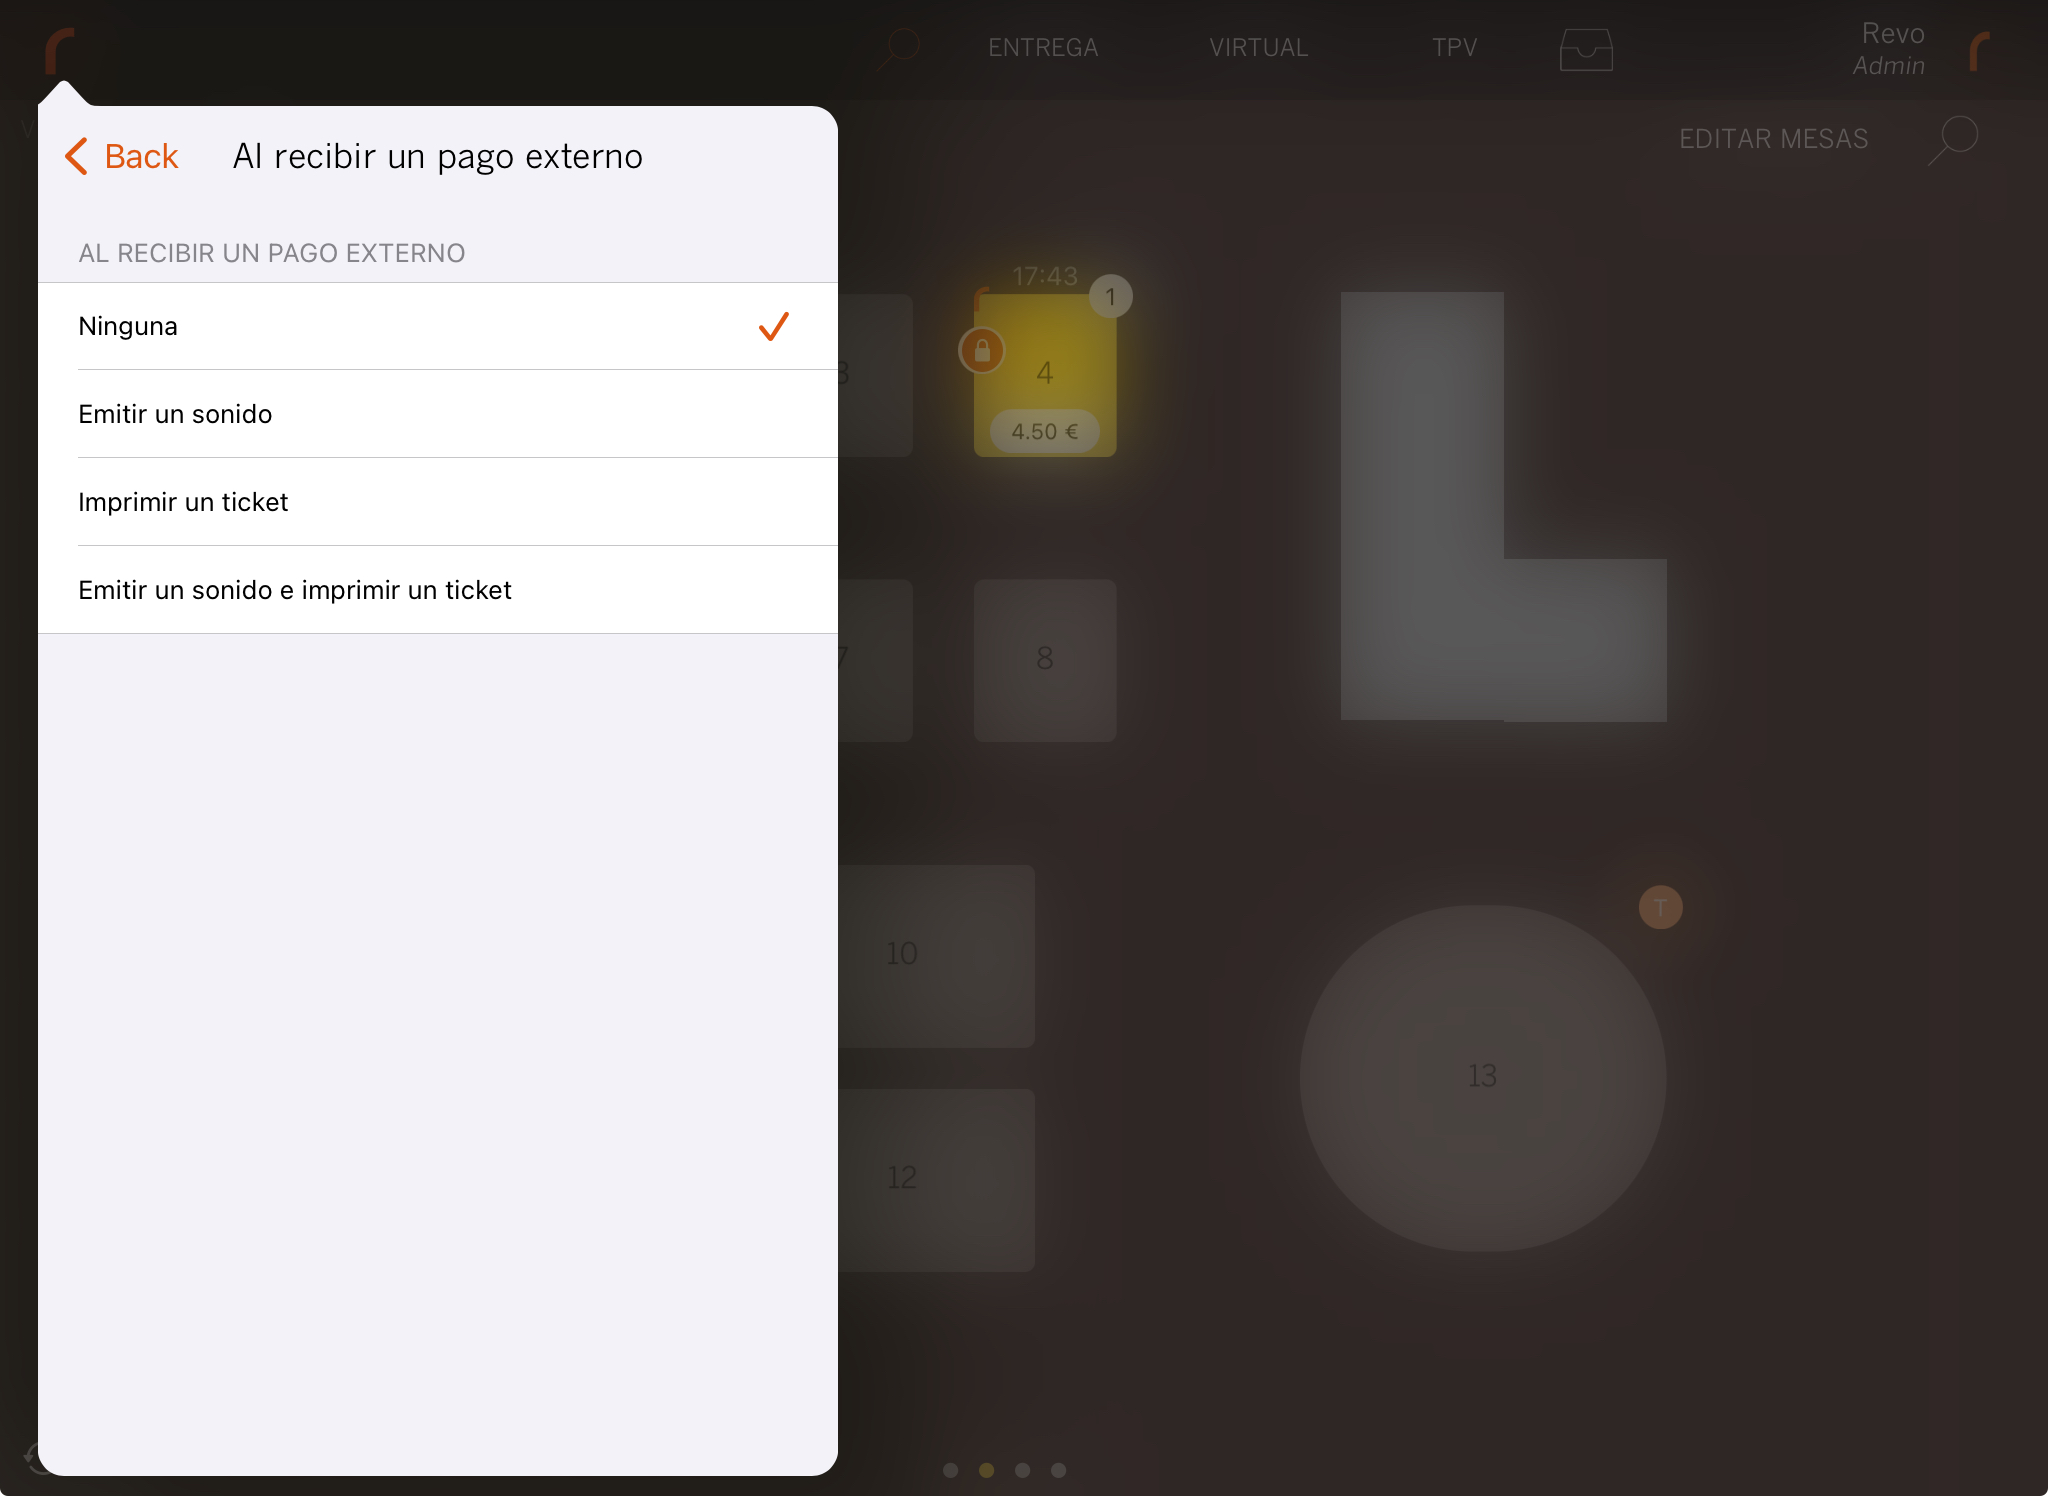
-
Choose an option and click Save.
That’s it! Your integration is now set up.
4. HOW TO USE REVO SOLO XPRESS
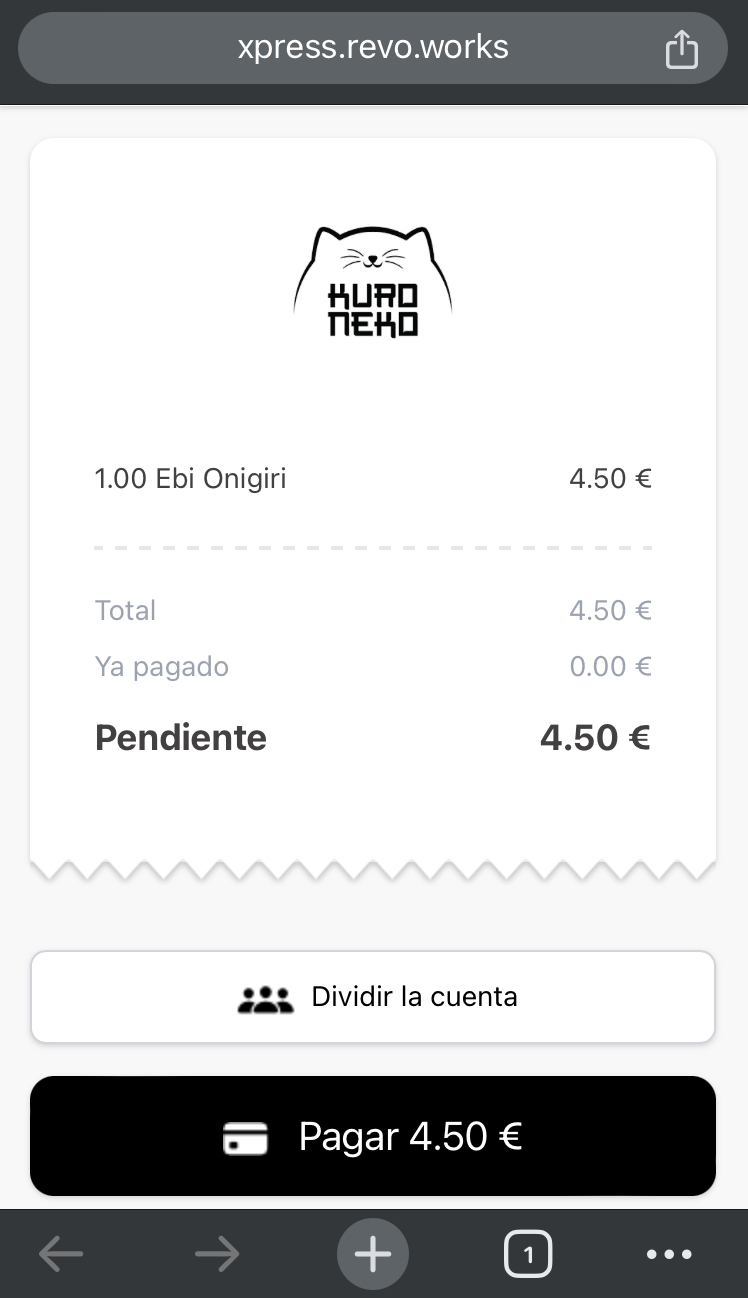
1. The payment screen will look like this:

2. Tap the QR code to view the available payment options:

3. From here, you can collect payment using any of the methods you’ve configured in Revo SOLO XPRESS.
When the customer scans the QR code from the iPad, proforma invoice, SMS, or link, they’ll see this screen:
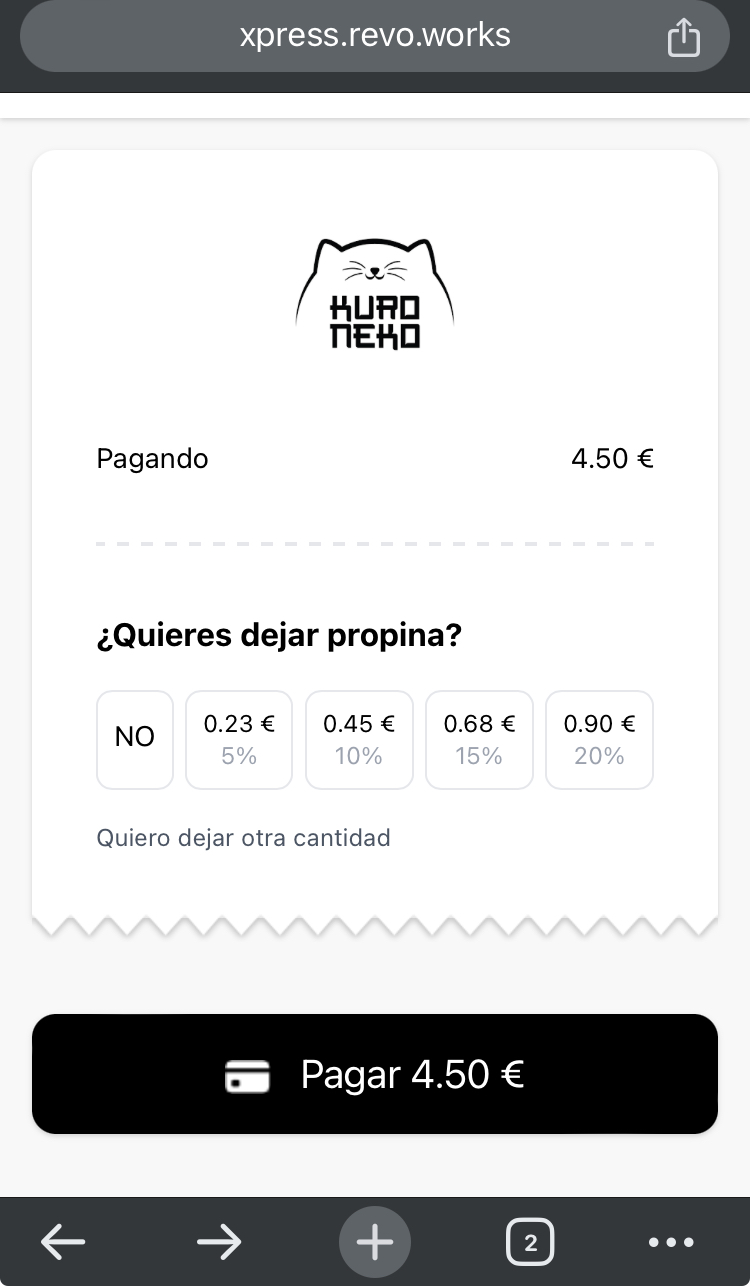
They can then choose to add a tip:
Then enter payment details:

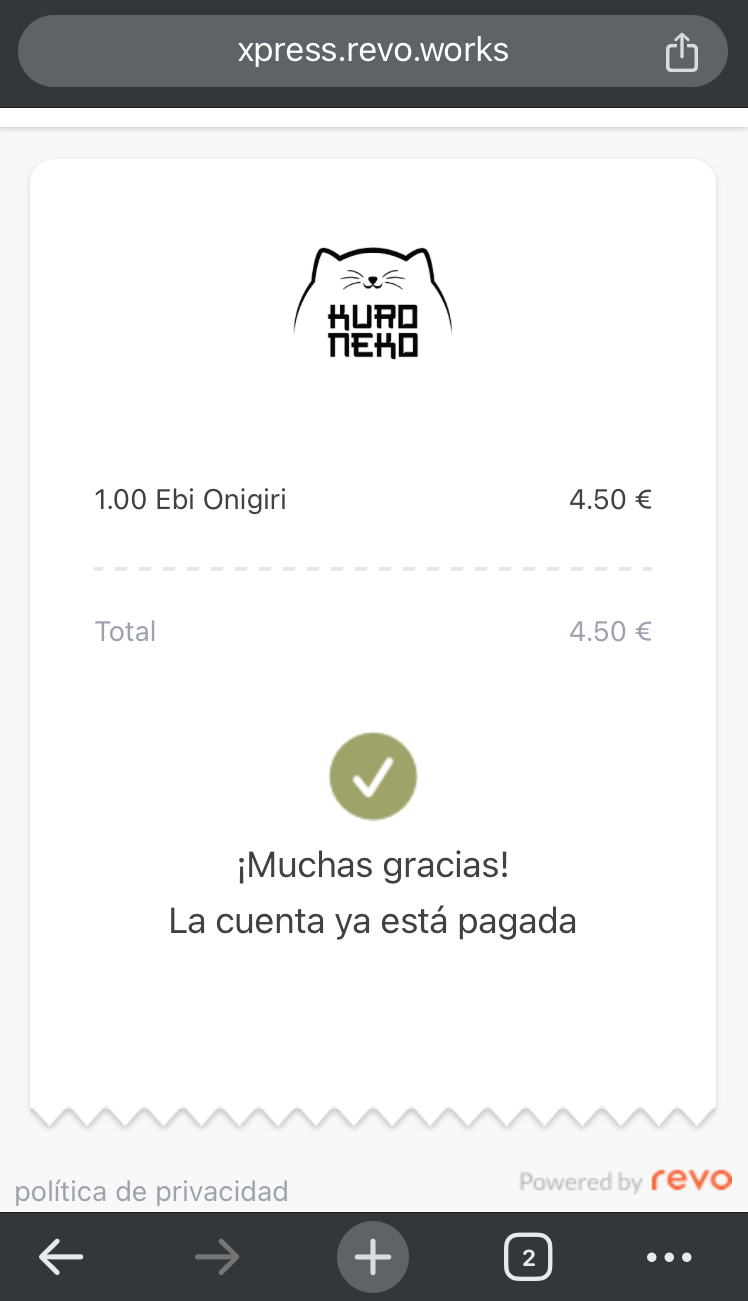
And payment is confirmed:
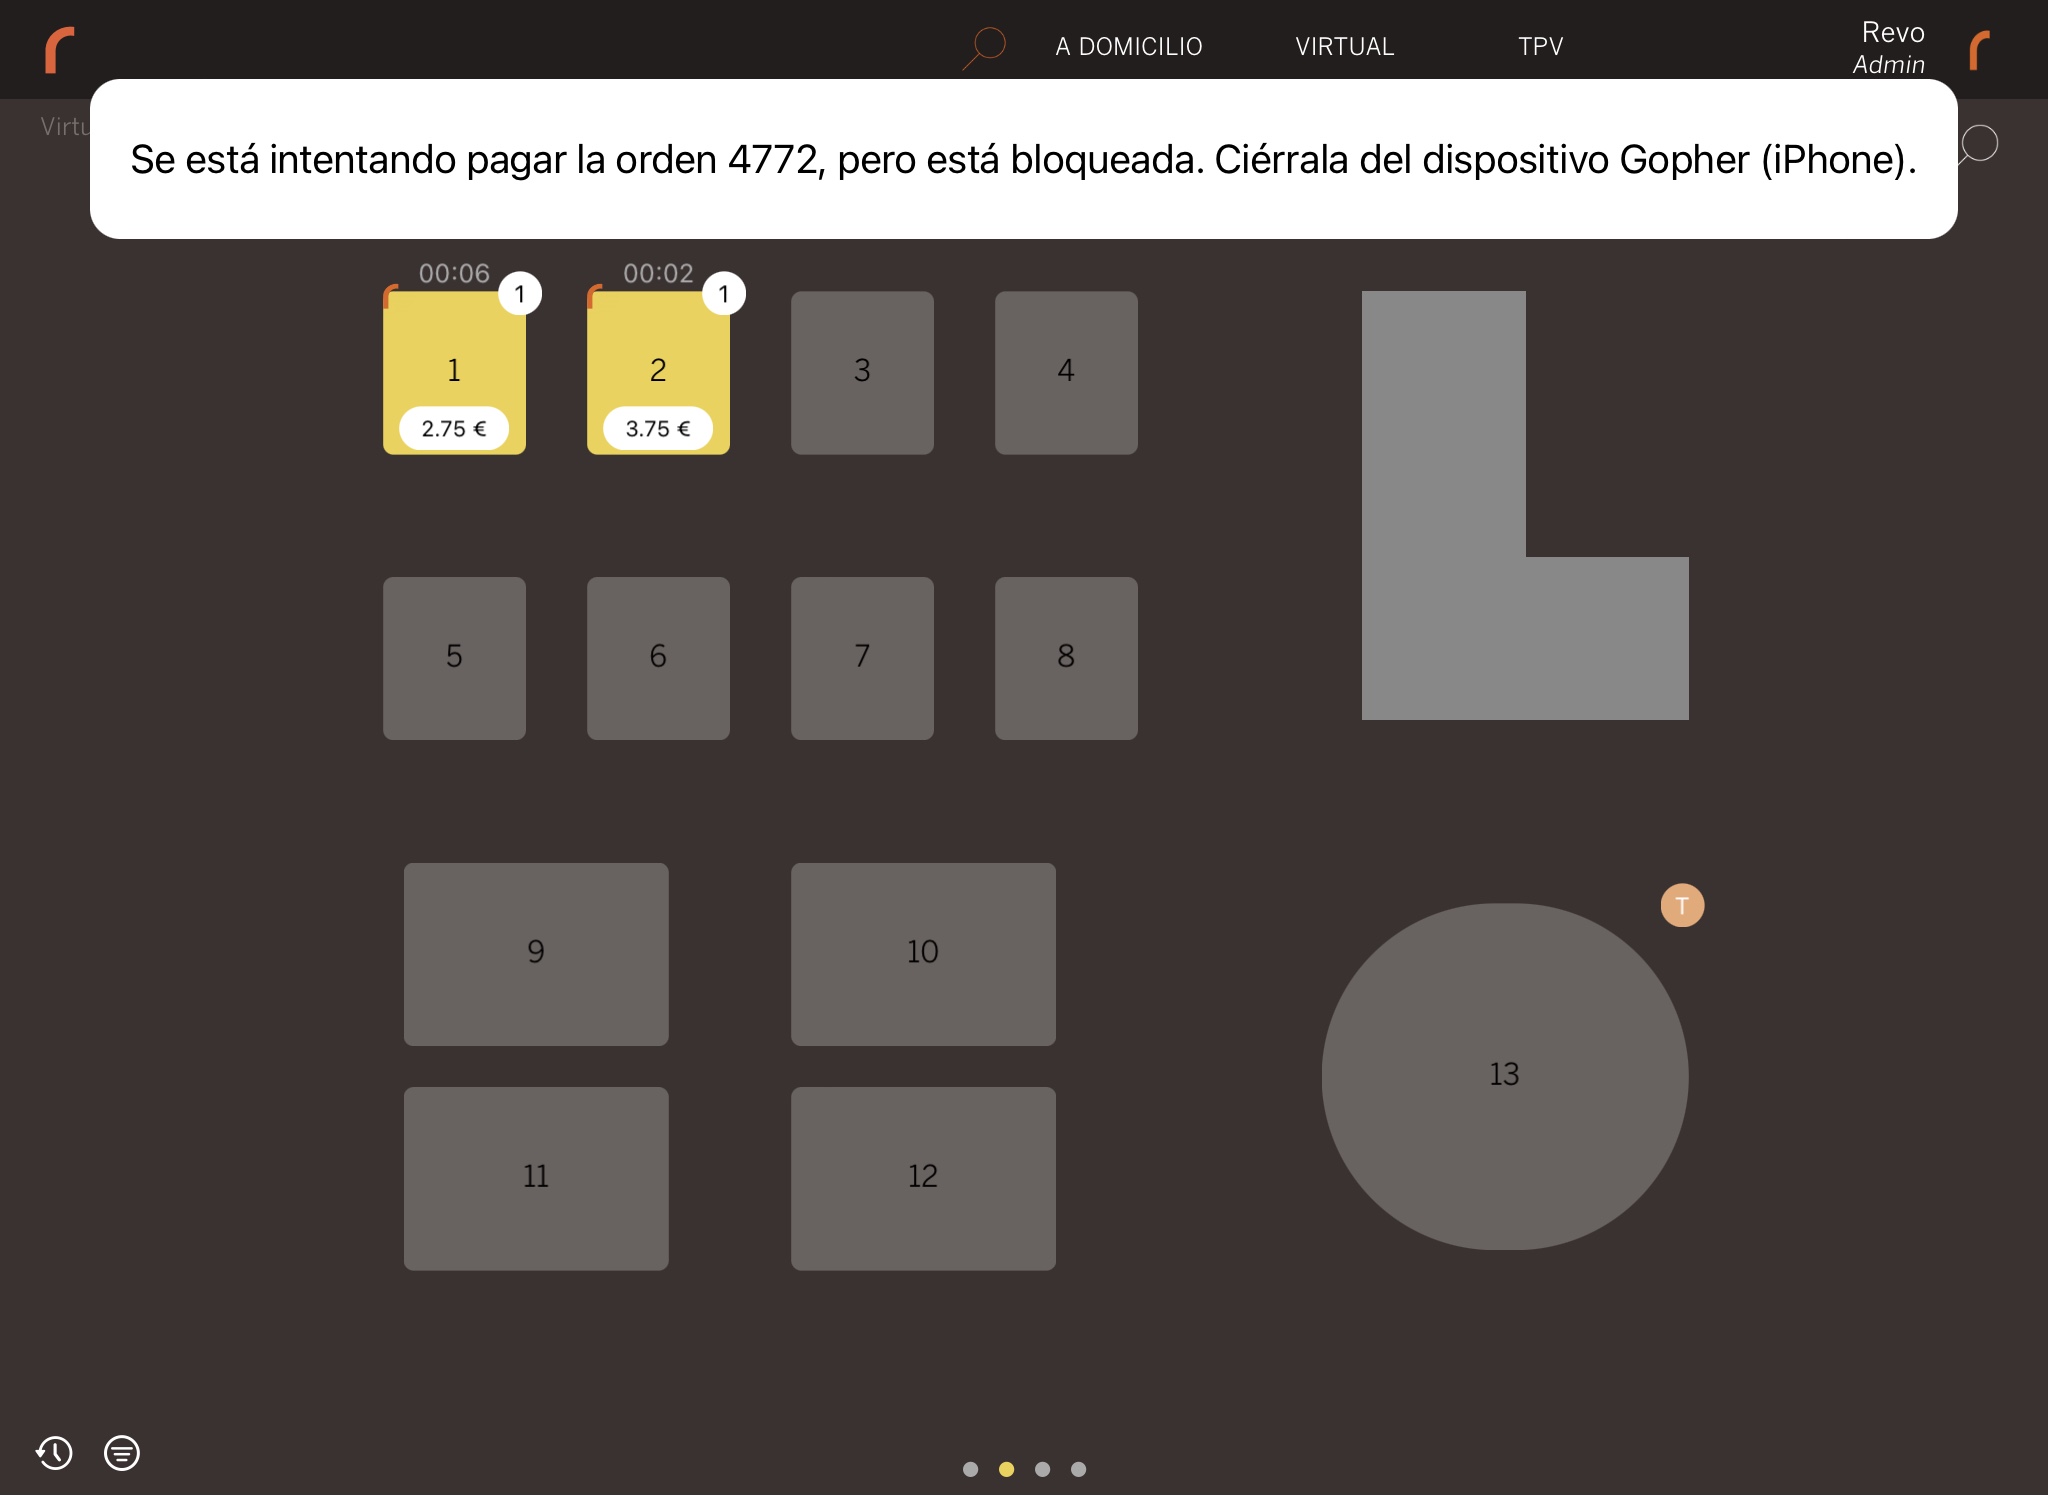
If the order is open on another device, this message will appear:
5. USING REVO XPRESS WITH REVO INTOUCH
If you’ve enabled Revo INTOUCH, your customers can log in before paying to earn or redeem points.
IMPORTANT
Only one customer can log in per order.
Partial payments are not allowed. The full order must be paid.
1. The customer taps Pay, and the login screen appears:
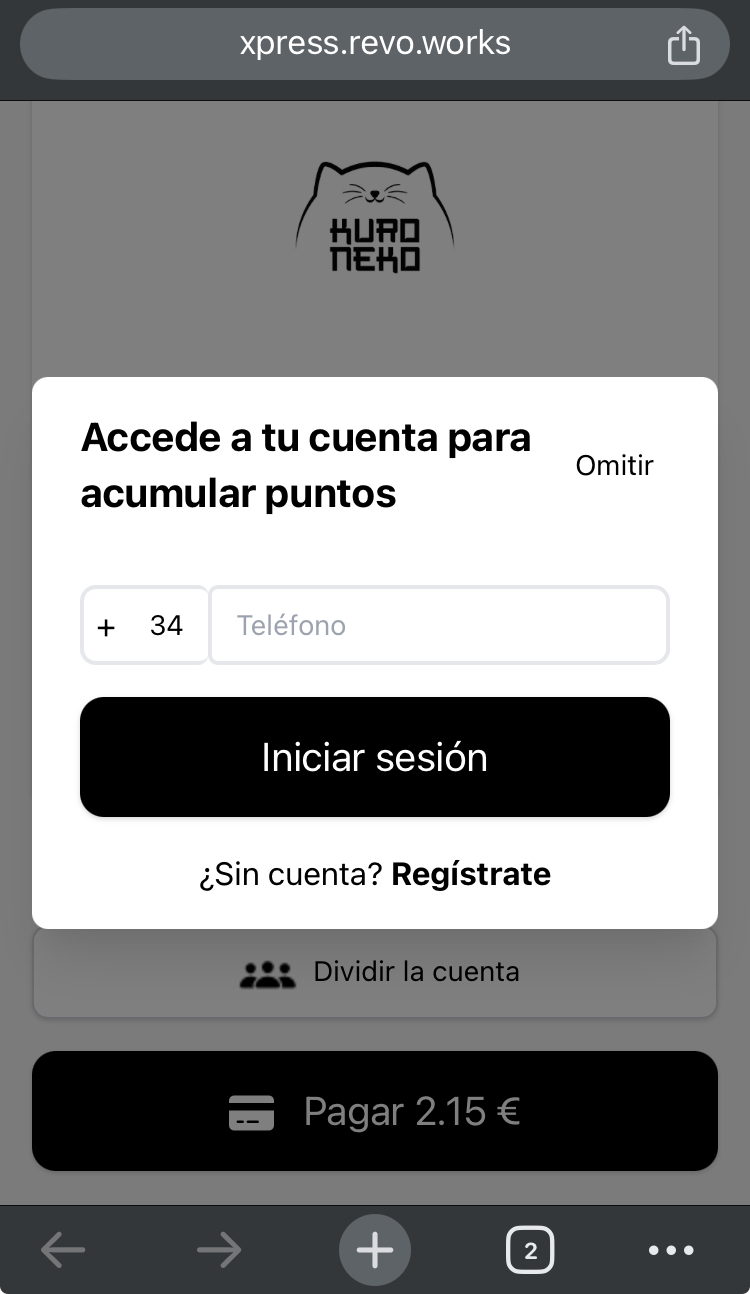
They can tap Skip to continue without logging in or Register to create an account and start earning points.
2. They’ll see their available points and can redeem them:
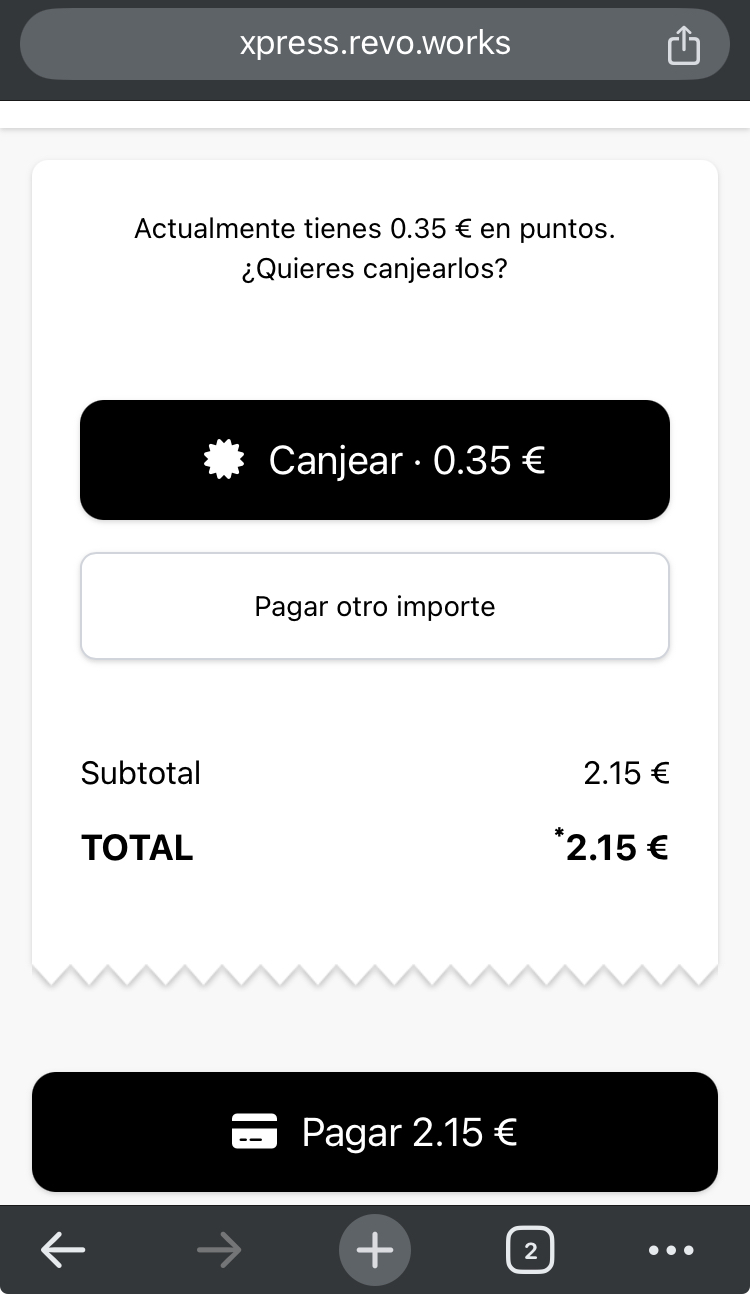
3. Once they tap Pay, the points will be added to their account.
6. HOW TO REQUEST AN INVOICE WITH REVO XPRESS
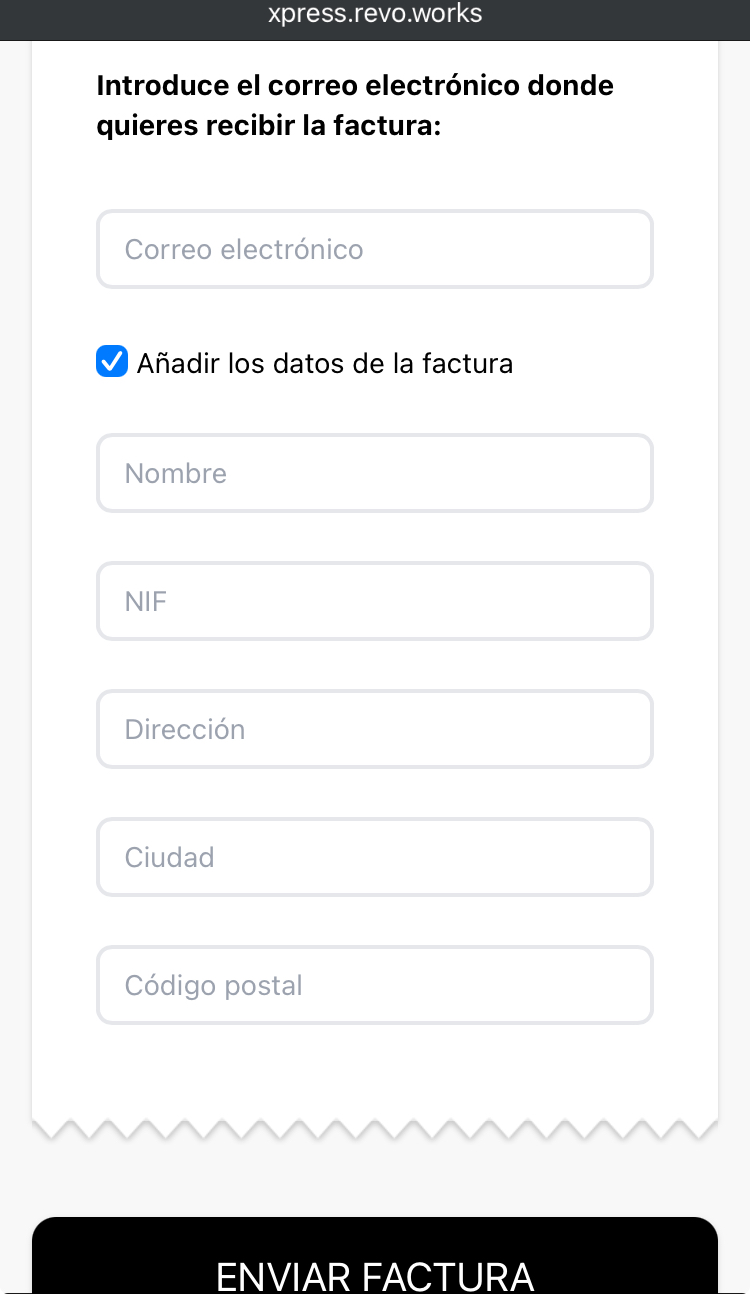
After completing payment, customers can request an invoice from Revo XPRESS, and it will be sent via email.
1. They must tap, Want your invoice?:

2. Fill in the details and tap Send invoice: